User onboarding can make or break an app. Great onboarding design increases the chances that a user will continue to use the app past the first time, while poor onboarding does the opposite. And considering 25% of users uninstall apps after the first use and 32% abandon the app within 10 uses, user retention is an important issue to consider.
A strong onboarding experience will help users become invested in using your app and what the app can do for them. Take the time to plan it out and stick to the best practices below to help increase your user engagement, conversion, and retention rate. Let’s get straight into it!
- 1. Keep it simple
- 2. Emphasize the value
- 3. Give users a preview
- 4. Prime users for permissions
- 5. Show users their progress
- 6. Give the option to skip onboarding
- 7. Remove friction wherever possible
- 8. End with a CTA
- 9. Don’t neglect onboarding outside the app

What is user onboarding?
When talking about digital product design, user onboarding refers to the process of guiding new users through your product with the goal of demonstrating its value. The main purpose of user onboarding is to increase the engagement, conversion, and retention of these new users.
So how do you design a successful user onboarding flow for your client projects (or your own)? Let’s jump into the nine essential best practices along with some visual onboarding examples to inspire you.
1. Keep it simple
Overly complicated onboarding is a quick way to turn off new users of your app. By keeping onboarding as simple as possible, you increase the likelihood of users finishing the onboarding process.
Consider which elements of your app you can skip during the onboarding process. You don’t have to introduce every feature and function during the initial onboarding. Stick to the basic functionality users will need to get started with the app.
2. Emphasize the value
Throughout the onboarding process, you’ll want to emphasize the value of various features and the overall app.
Think about how each aspect of the app you want to introduce is valuable to users, and approach their explanations from that angle.
If you can’t immediately identify the value of various features, consider leaving them out of the onboarding process entirely. The more value users can immediately see, the more likely they are to continue using your app.
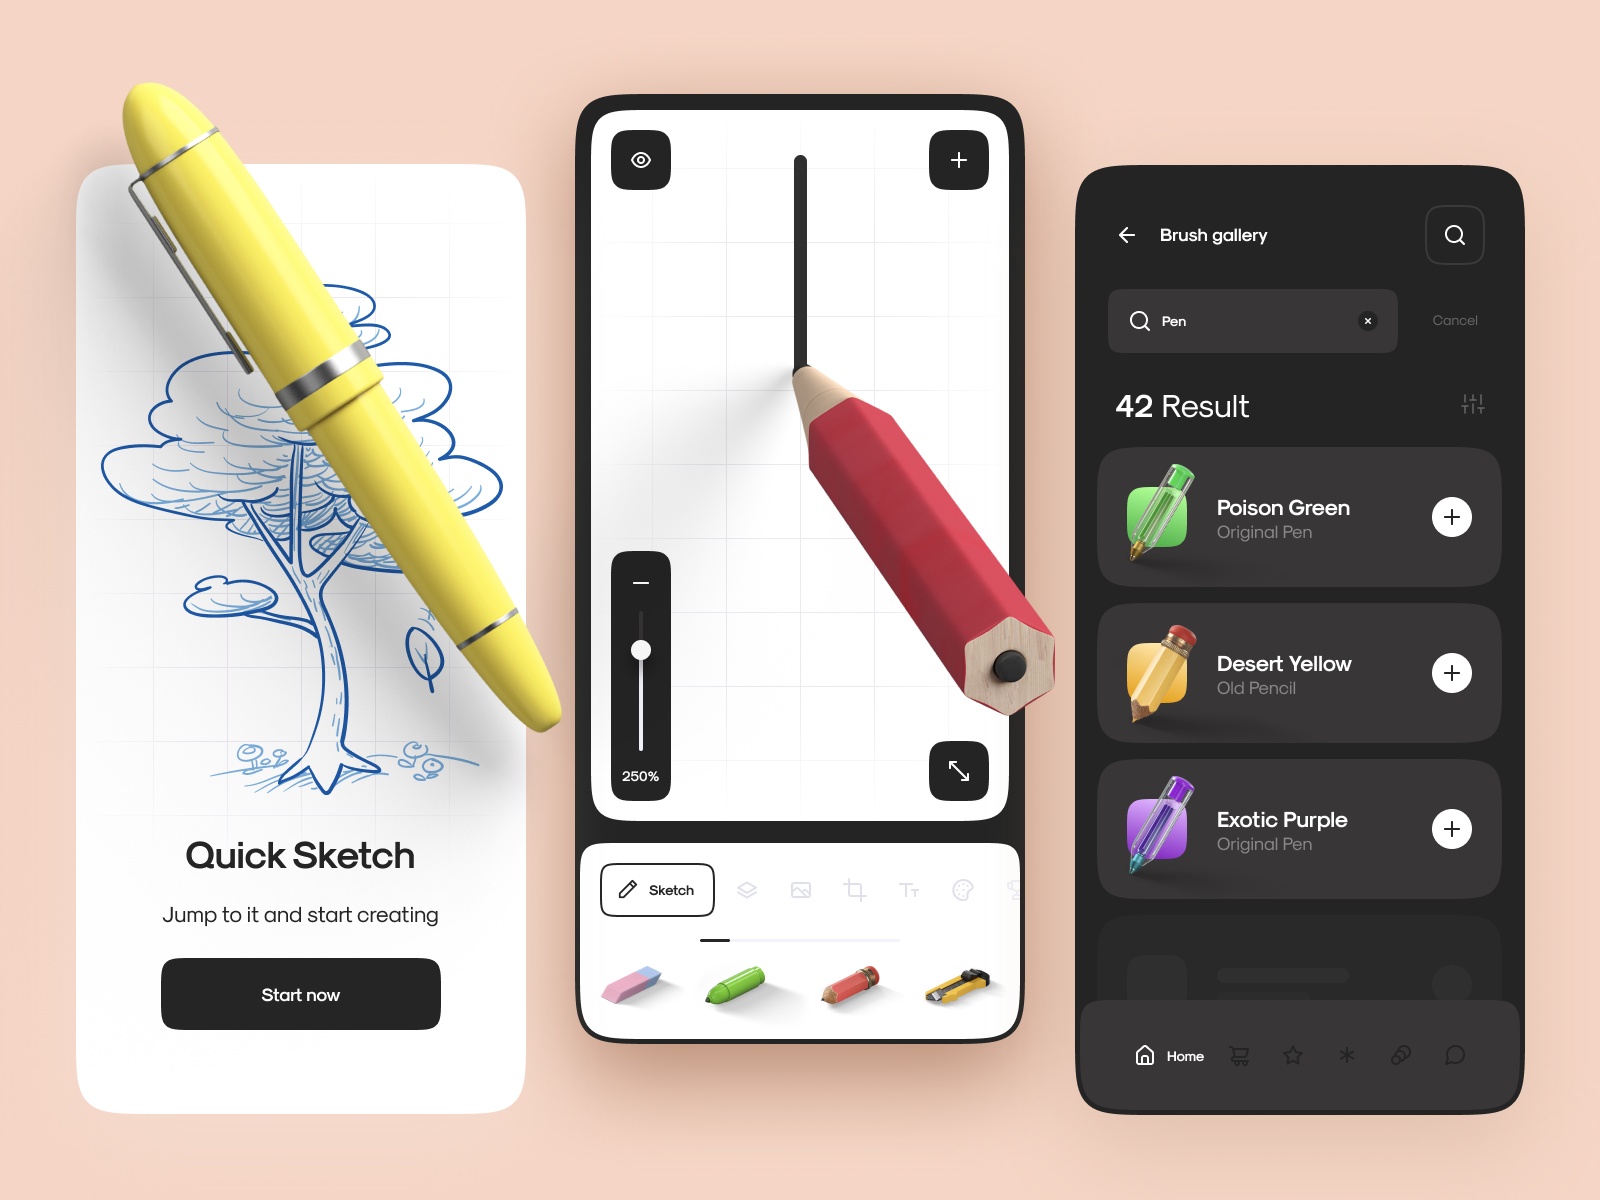
3. Give users a preview
The goal of any onboarding process is to give users a preview of what the app will do for them and how it will do it. This preview should include information on the core feature and content of the app, preferably with real-world examples.
Allowing users to see the content they’ll encounter once they complete the onboarding process can increase the chances they’ll finish—as long as they see the value of that content.
Placeholder content should only be used when showing actual content could cause privacy or security issues (such as with a banking app).
4. Prime users for permissions
If your app requires permissions for things like camera access or location sharing, use the onboarding sequence to prime users for granting those permissions.
Priming them can be as simple as a quick pop-up that explains why the permission is needed and asking them to grant the permission on the next screen.
Priming for permissions builds trust with your users and makes them more likely to grant the permissions necessary for your app to properly function.
Without priming, users may deny access to necessary functions, hindering their ability to use the app and increasing the likelihood they’ll uninstall it or simply not use it.
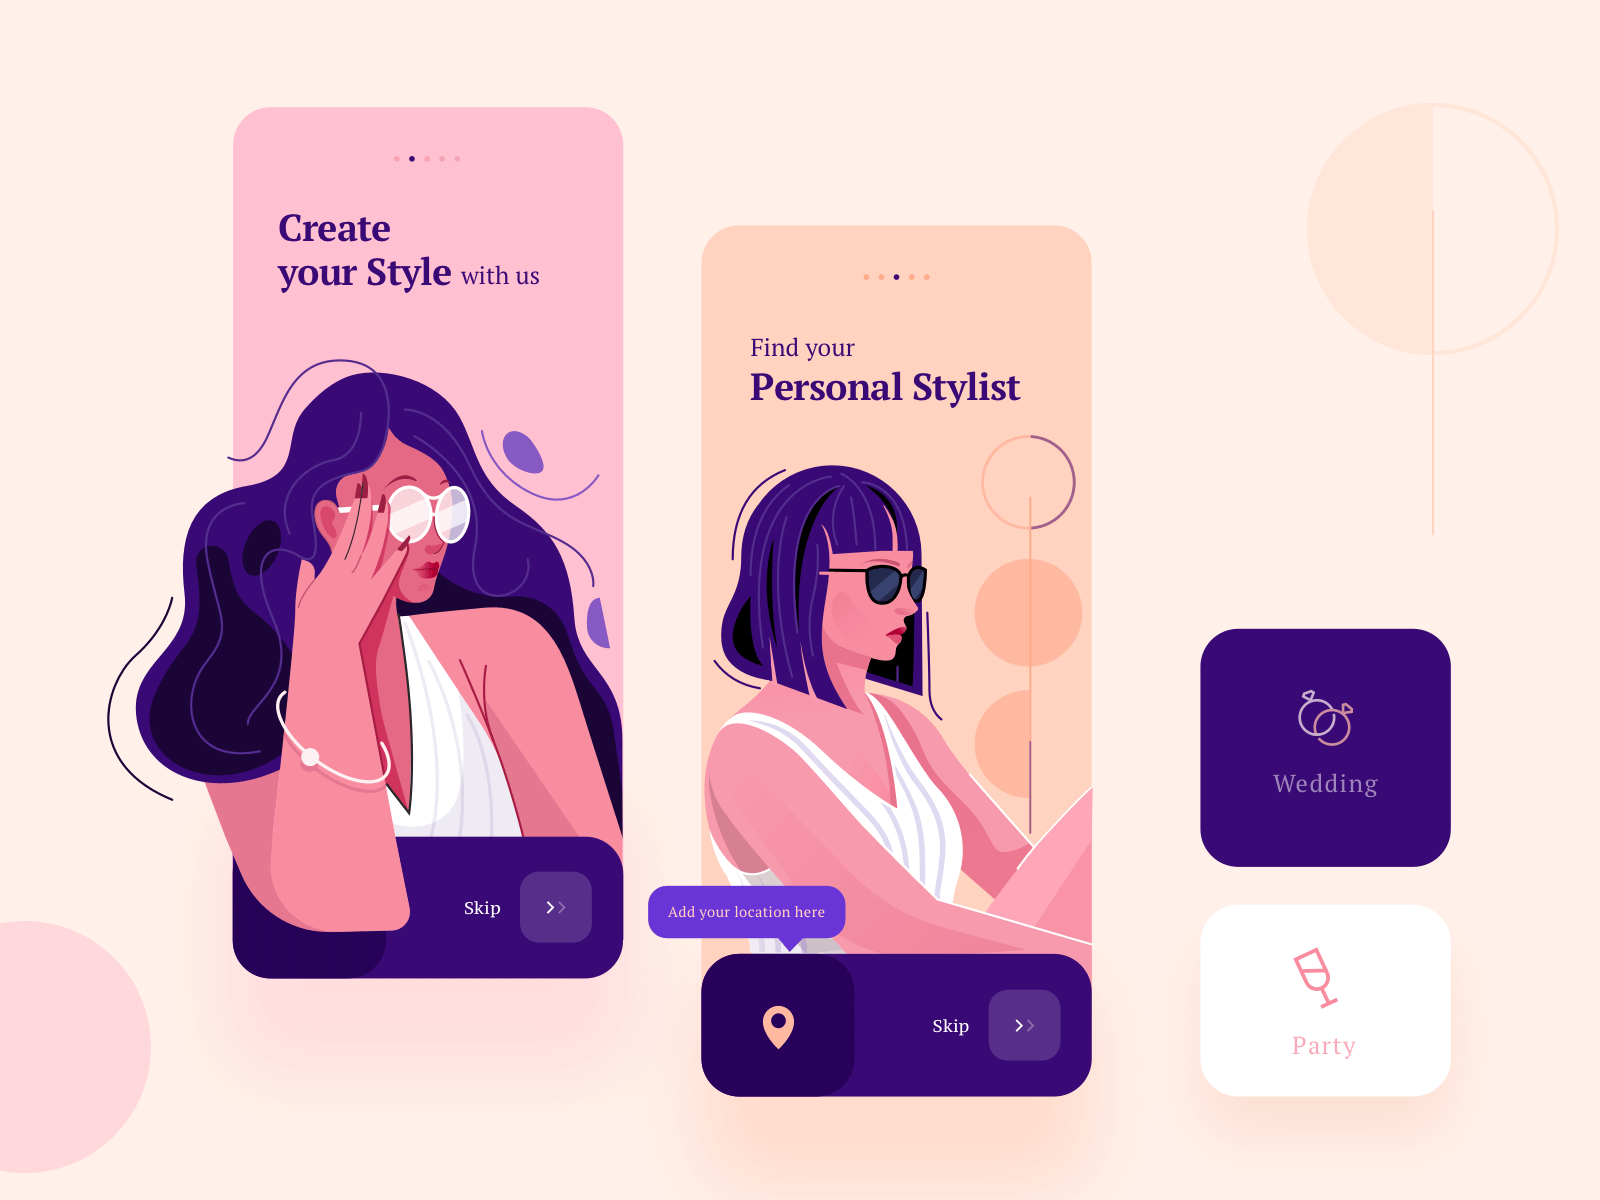
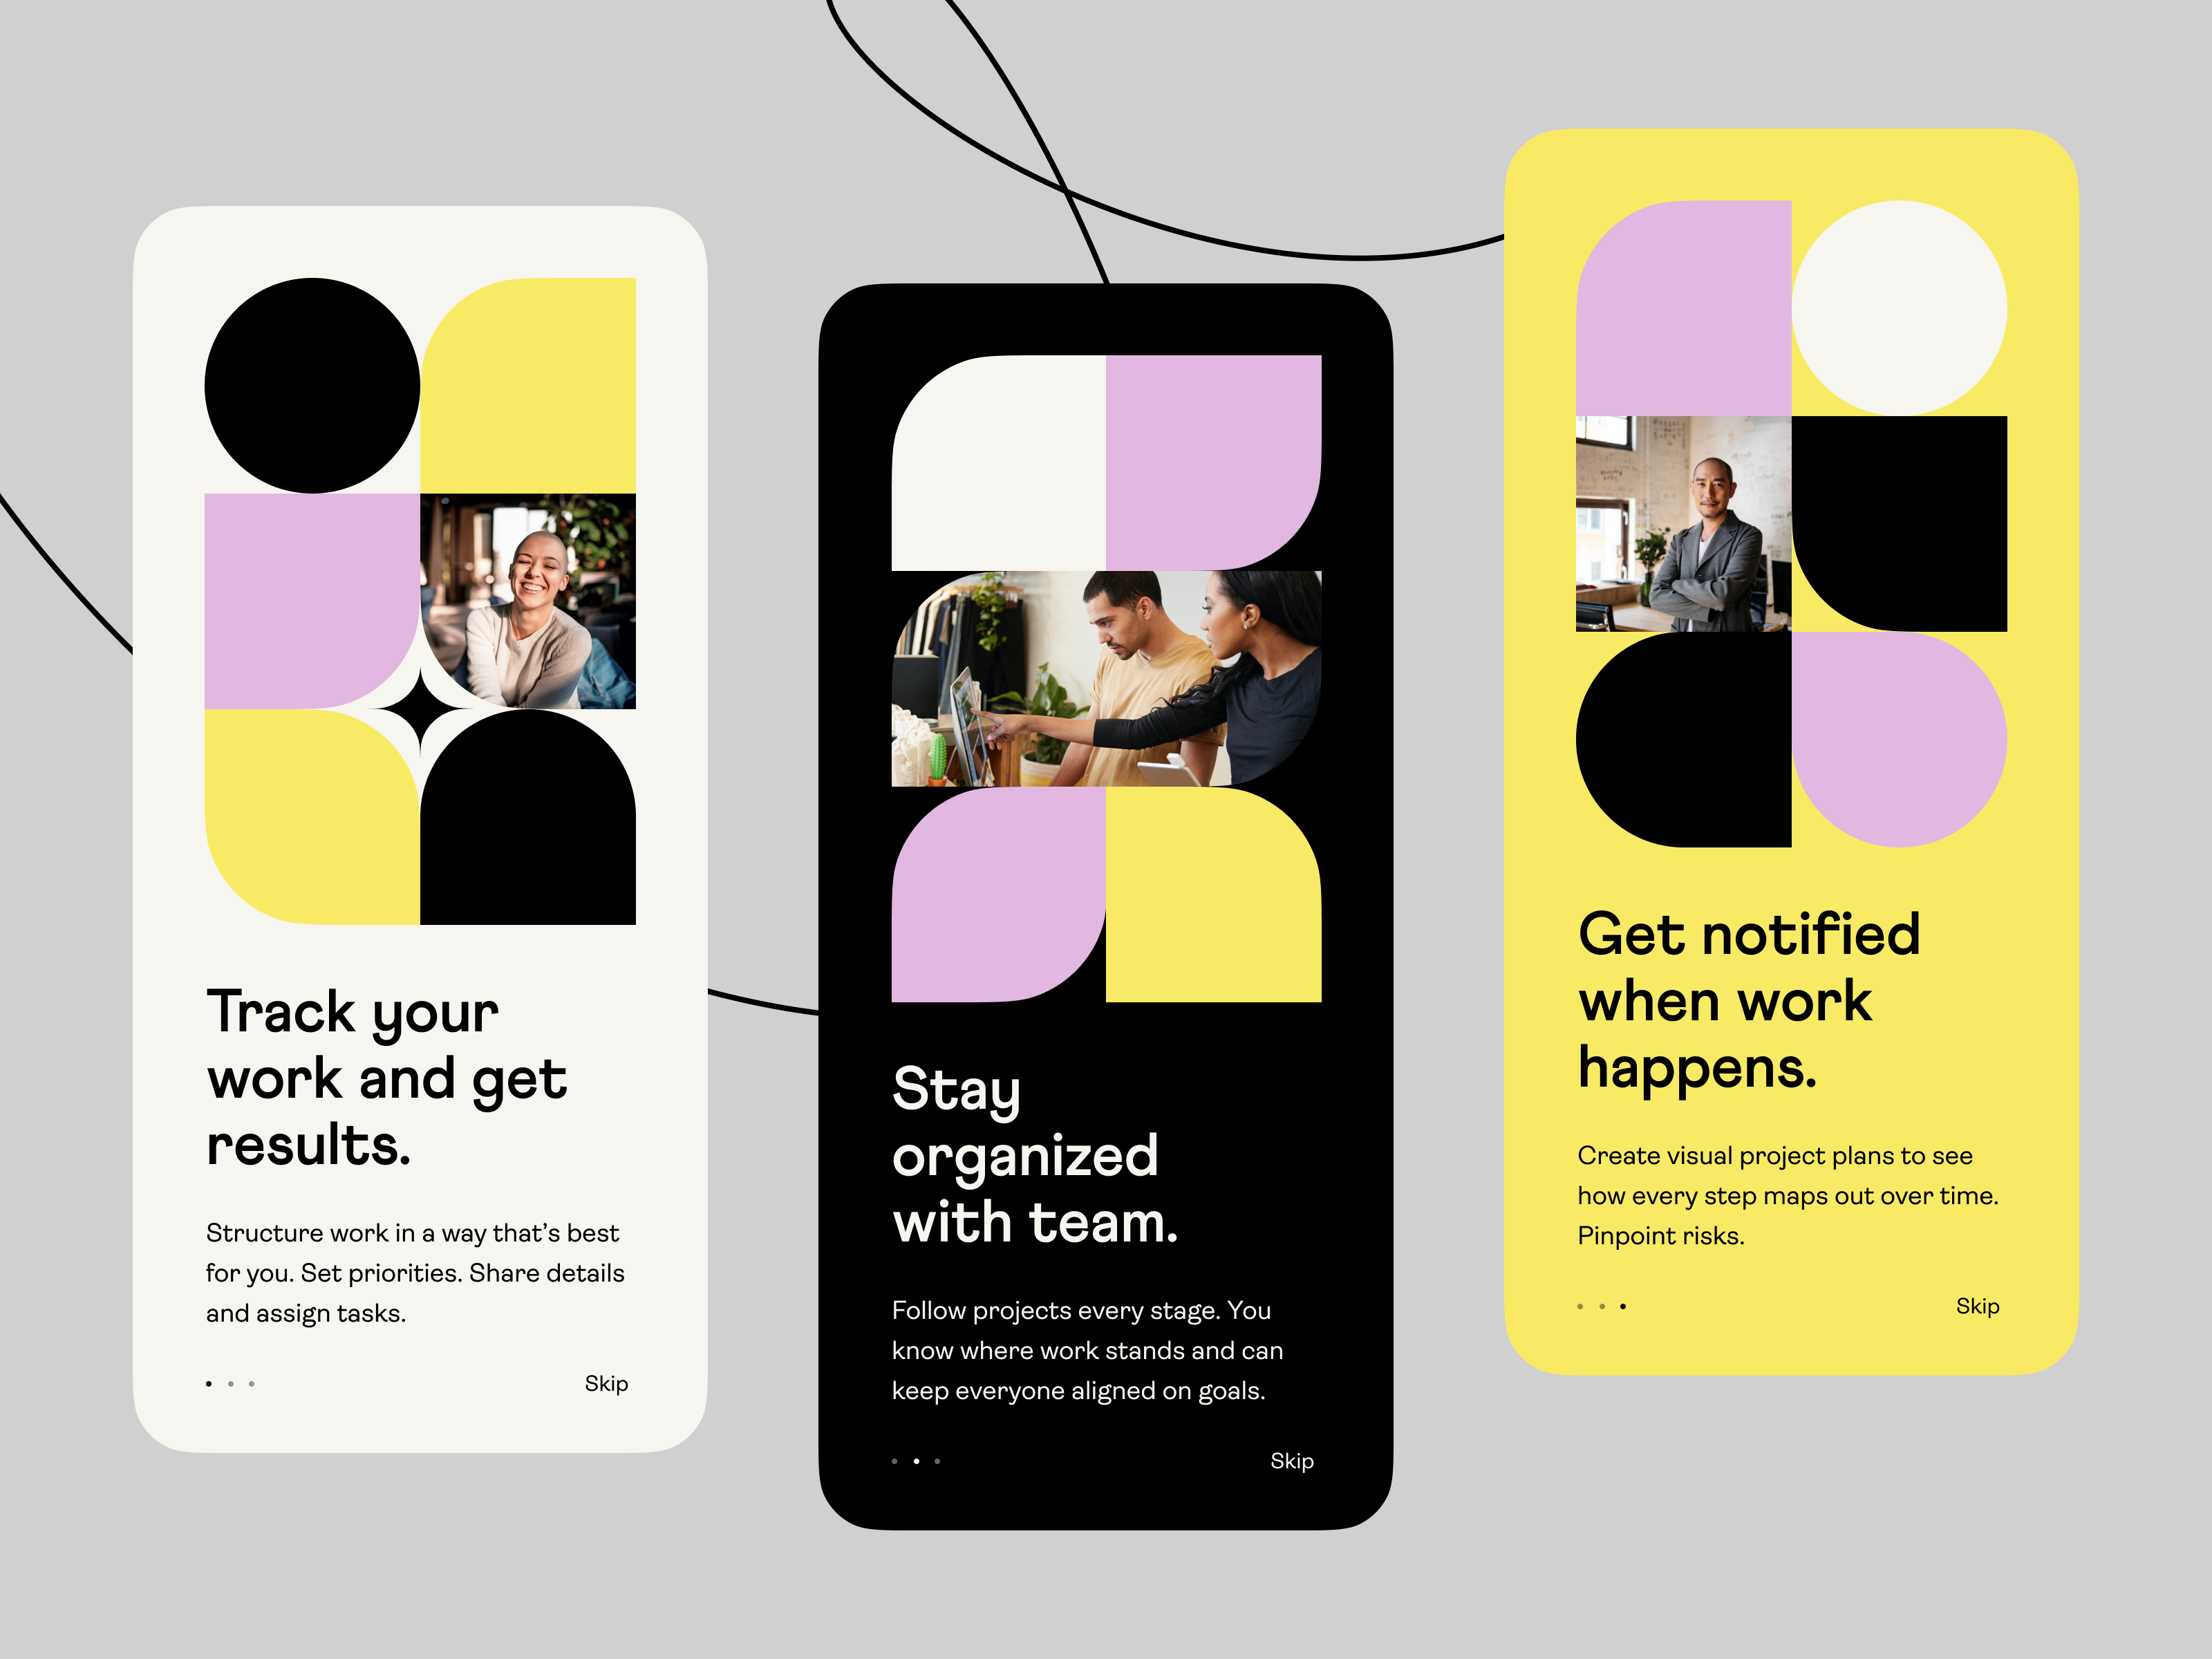
5. Show users their progress
Whether your onboarding ux is three screens or ten, show users the progress they’re making throughout the process. If they can see how many screens are left in the onboarding, or how much longer it will take, they’re more likely to stick with the process to the end.
The most common ways to do this are through either a series of dots at the bottom of the screen that show progress or through numbered steps (i.e., “step 1 of 4” or similar).
Regardless of how you show it, this is valuable information that helps users.
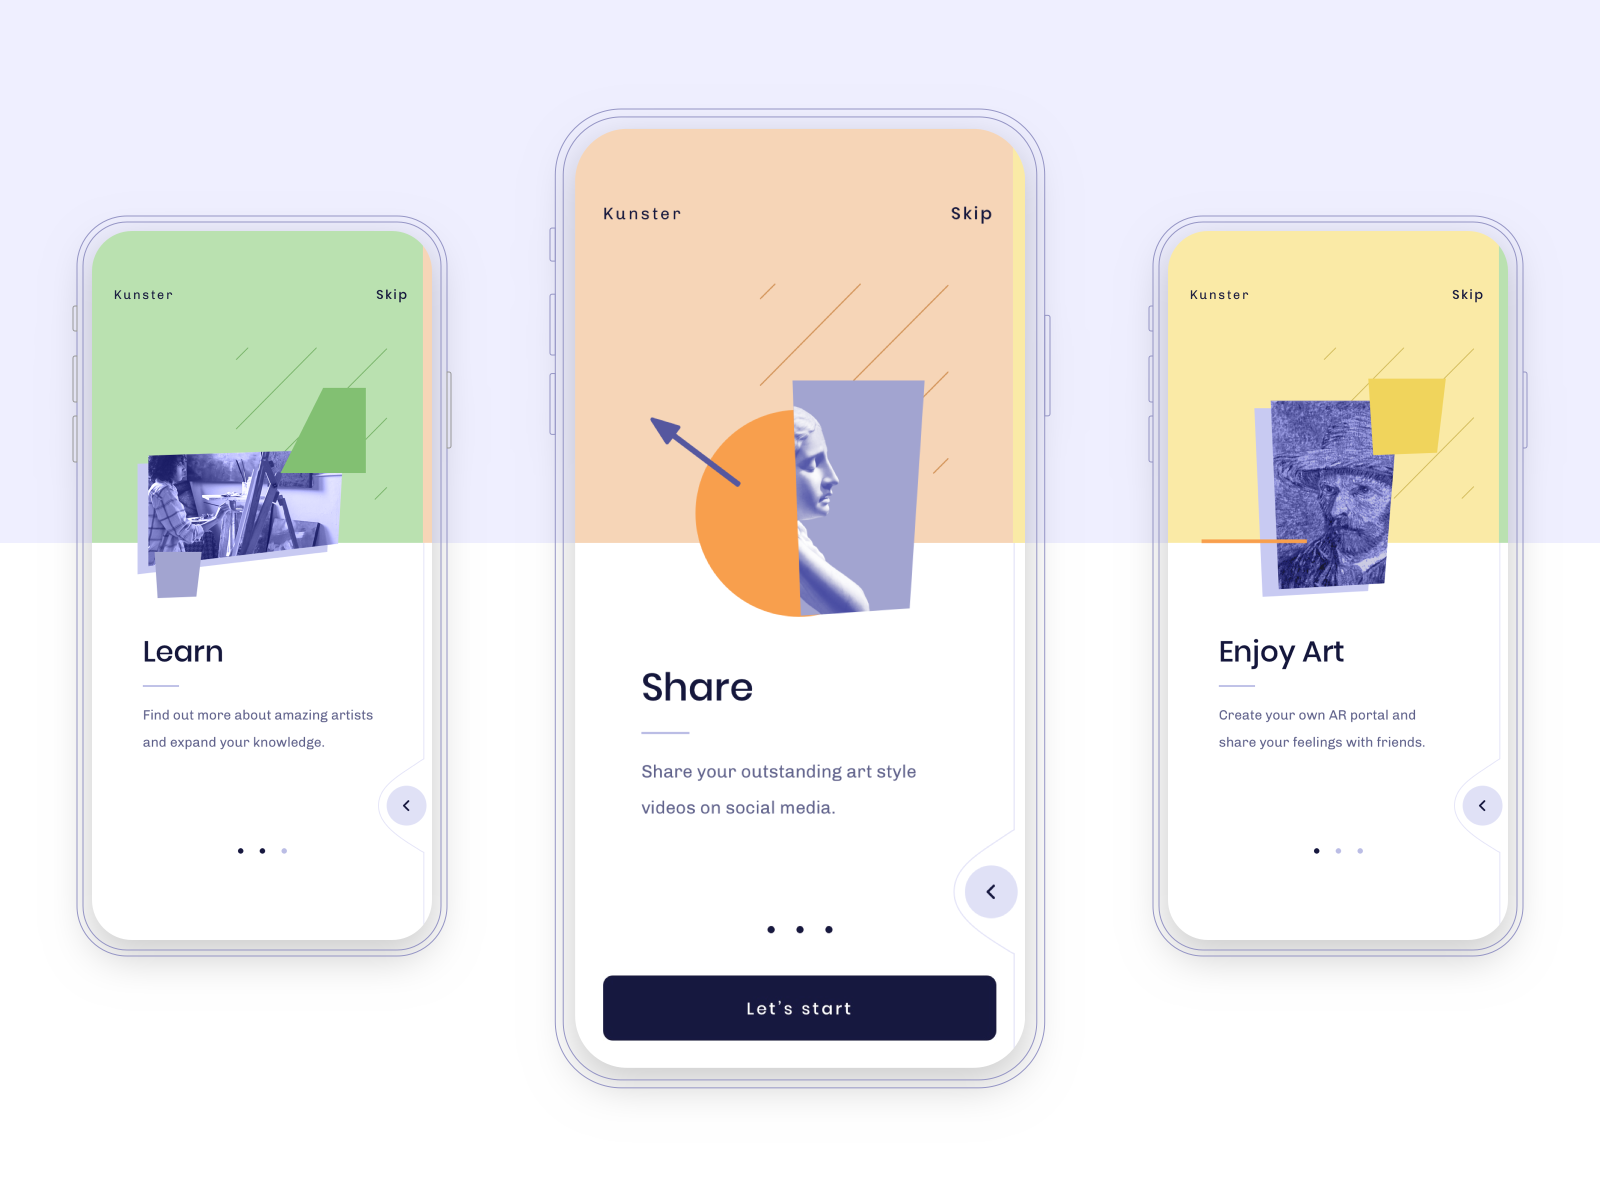
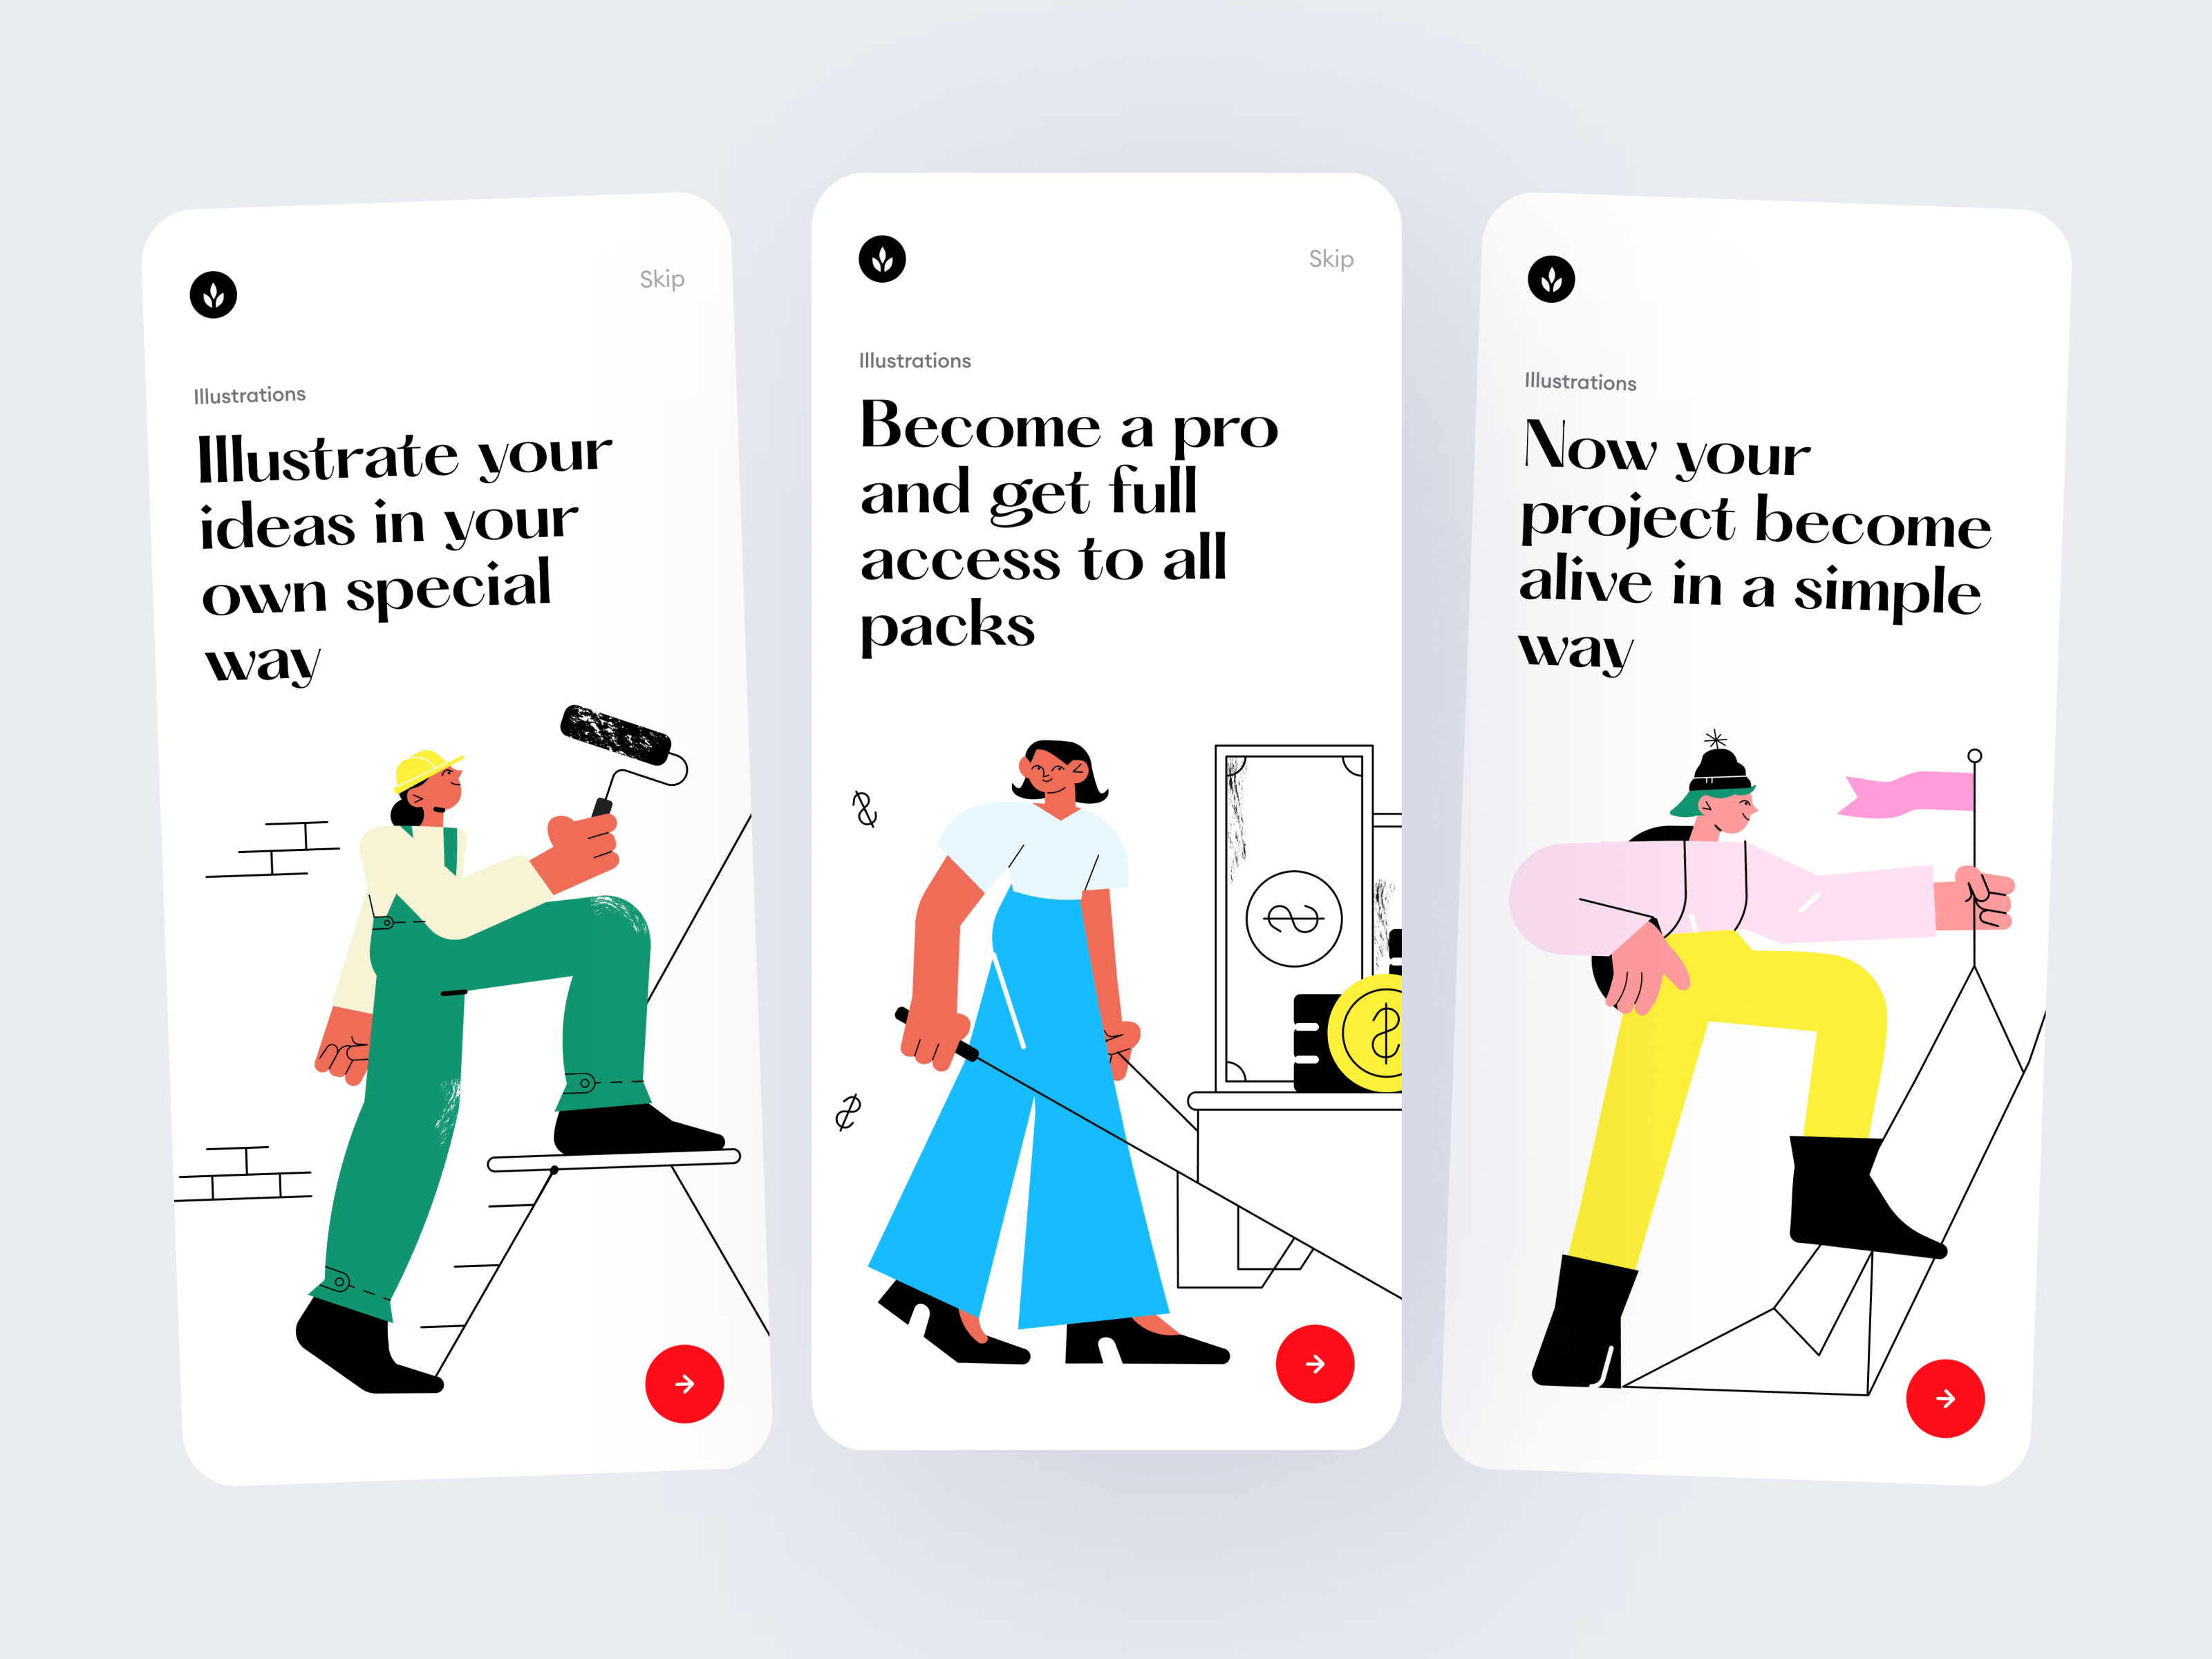
6. Give the option to skip onboarding
While every designer hopes the onboarding process they’ve created will capture user attention, it’s smart to give users the option to skip onboarding. There are a few reasons they may want to do this.
The most common reason to skip onboarding is that they’ve already used the app and don’t need to familiarize themselves with it, or they’ve seen an introduction to the app’s functionality on your website or elsewhere.
Other users prefer to just dive into using an app and figure it out for themselves rather than going through an onboarding process.

7. Remove friction wherever possible
Your onboarding experience should aim to remove friction for the user wherever possible. That means explaining any common features or functions that might trip new users up or that are done differently than similar apps.
Removing friction can also mean incorporating things like signups into the onboarding flow rather than adding it as an extra step at the end.
Other examples of removing friction would be to prompt users to add content or contacts during onboarding so they have content waiting for them when they start using the actual app.
Guiding users through setup during onboarding reduces their friction when actually starting to use the app.
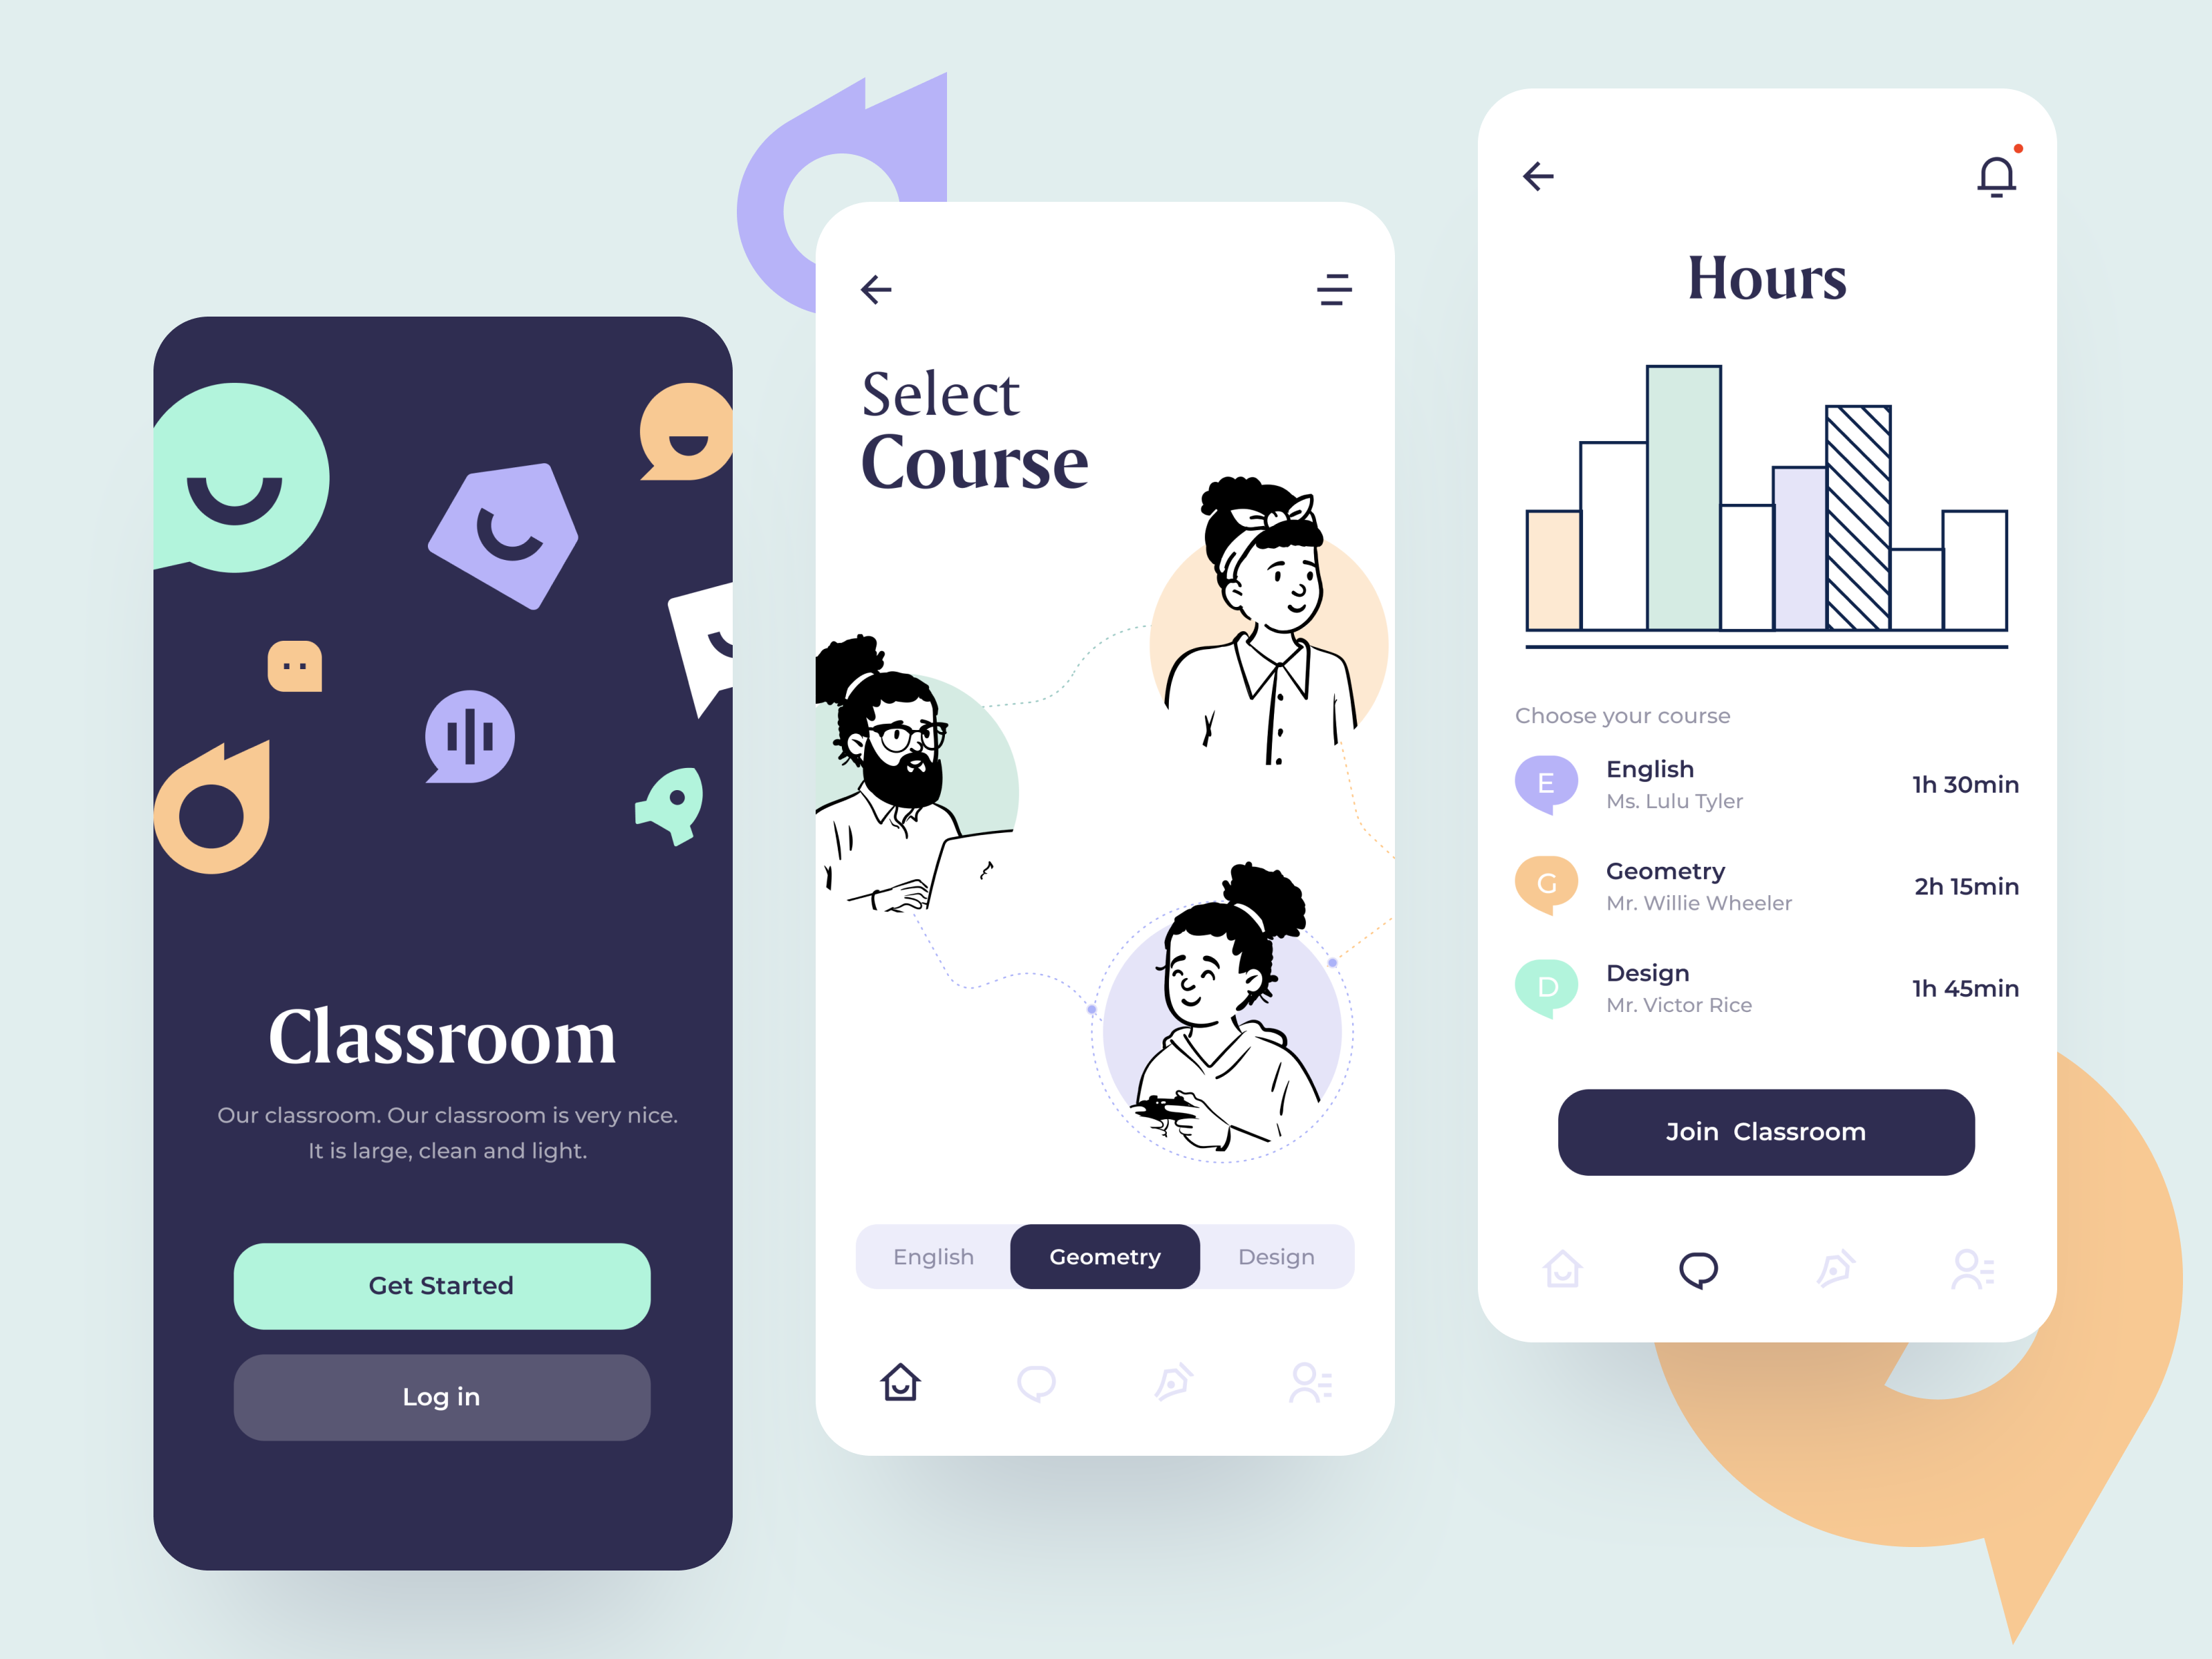
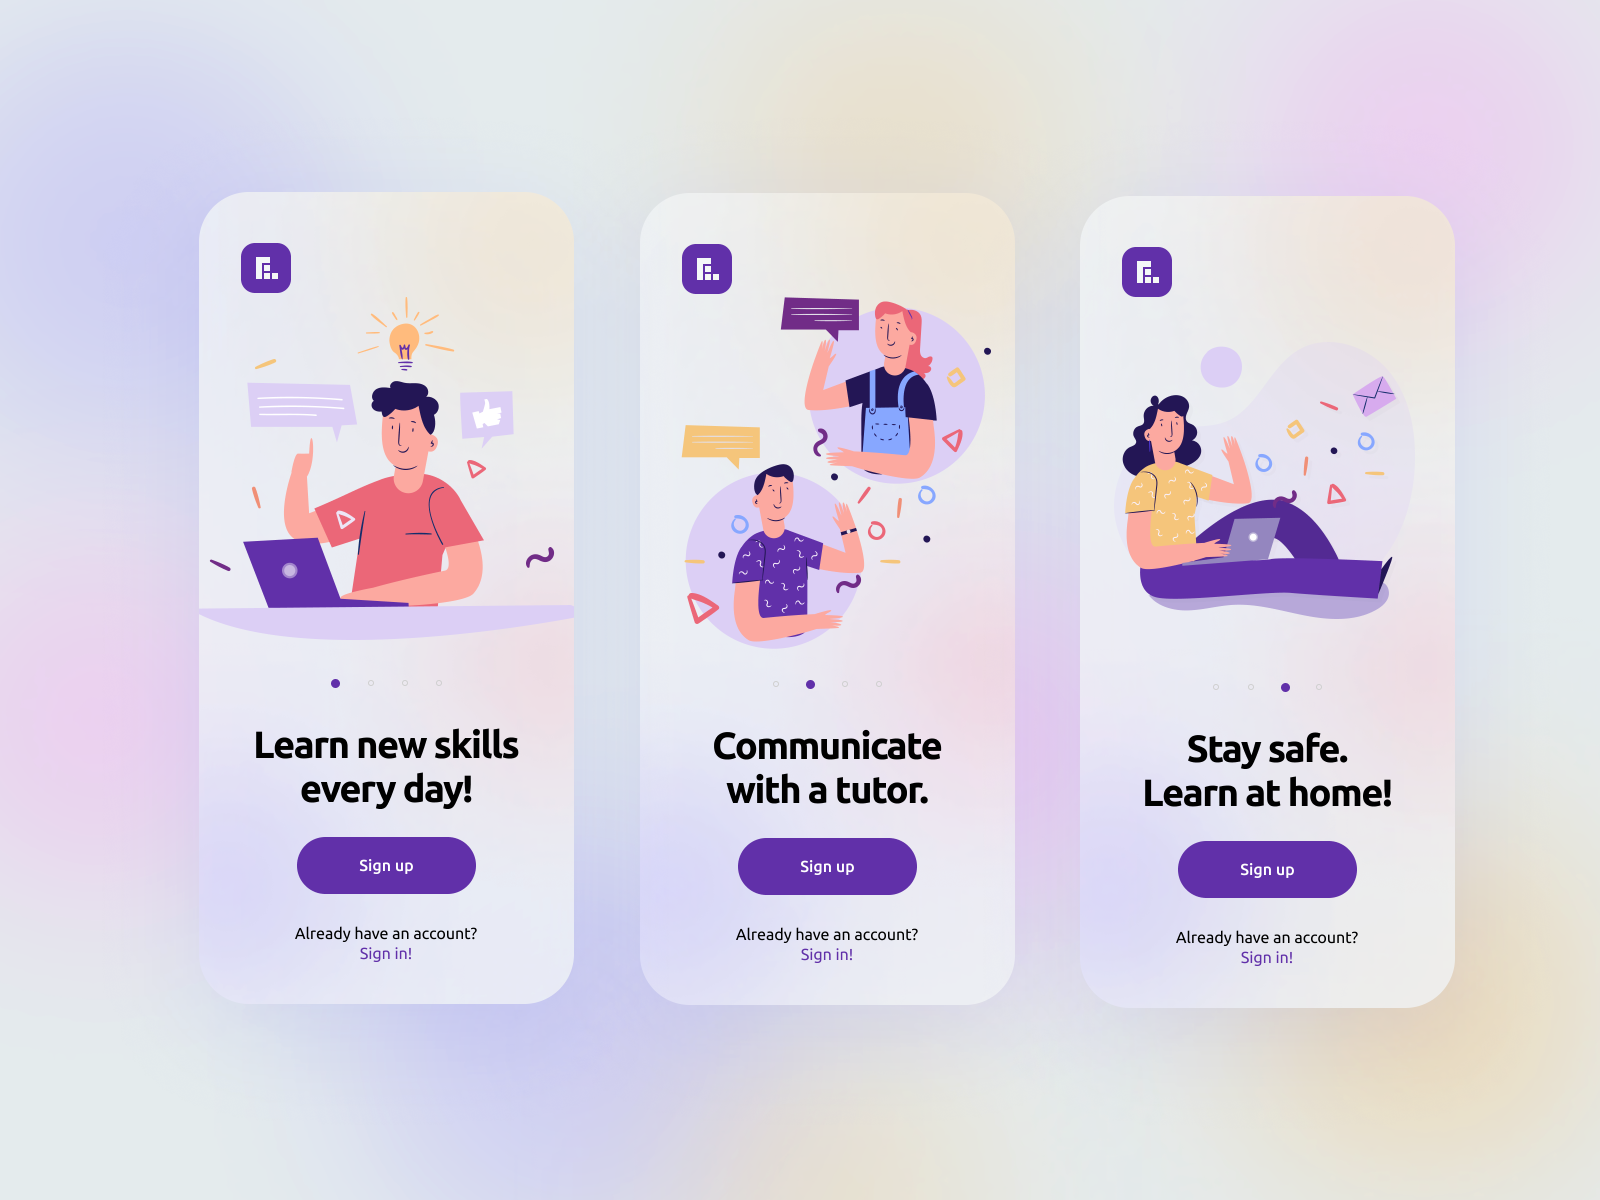
8. End with a CTA
At the end of your onboarding flow, include a CTA. This could be to start using a key part of the app’s functionality. A camera app might prompt users to take their first picture at the end of onboarding. A social media app might prompt users to make their first post.
By ending with a CTA, you prompt users to start engaging with the app immediately in a meaningful way. This increases the chances that users will continue to use the app and not abandon it after their first usage.

9. Don’t neglect onboarding outside the app
We often think of onboarding just in terms of the flow that happens within the app. But there are other aspects to onboarding that can be just as important.
Videos, screenshots, or walkthroughs you include on your website or in the app store should be considered part of the onboarding experience. These give many users the first taste of what your app looks like and how it works.
Emails and other marketing and new user communications are also key onboarding components. This can be a great way to give users more in-depth information about how to get the most out of your app without cluttering up the in-app onboarding flow. Consider carefully how you want to use these kinds of communications to increase user engagement.

How to design an engaging app onboarding flow
Regardless of how you approach your onboarding experience, keep your users’ needs at the forefront of your mind. If you create onboarding as a way to improve their experience rather than just a way to show off how great your app is, you’ll find higher retention and engagement rates. Happy designing! ■
 About the Author — Cameron Chapman: Editor. Blogger. Author. Designer. Copywriter. Marketer. Entrepreneur. Speaker. Consultant. Coach. I wear a lot of hats. What most of them have in common, though, is storytelling.
Find more Process stories on our blog Courtside. Have a suggestion? Contact stories@dribbble.com.


