
Ready for a lesson in visual storytelling? Based on their experience designing an animated story for the folks at Afterpay, our friends at Dovetail share a step-by-step guide to help your design team create an engaging business story of your own.
We recently decided at Dovetail that we wanted to share our most impressive client story but in a way that was more engaging than a regular case study.
We were inspired by some of the interactive articles on the HuffPost’s Highline publication and wondered if we could design an engaging and interactive narrative of our own.
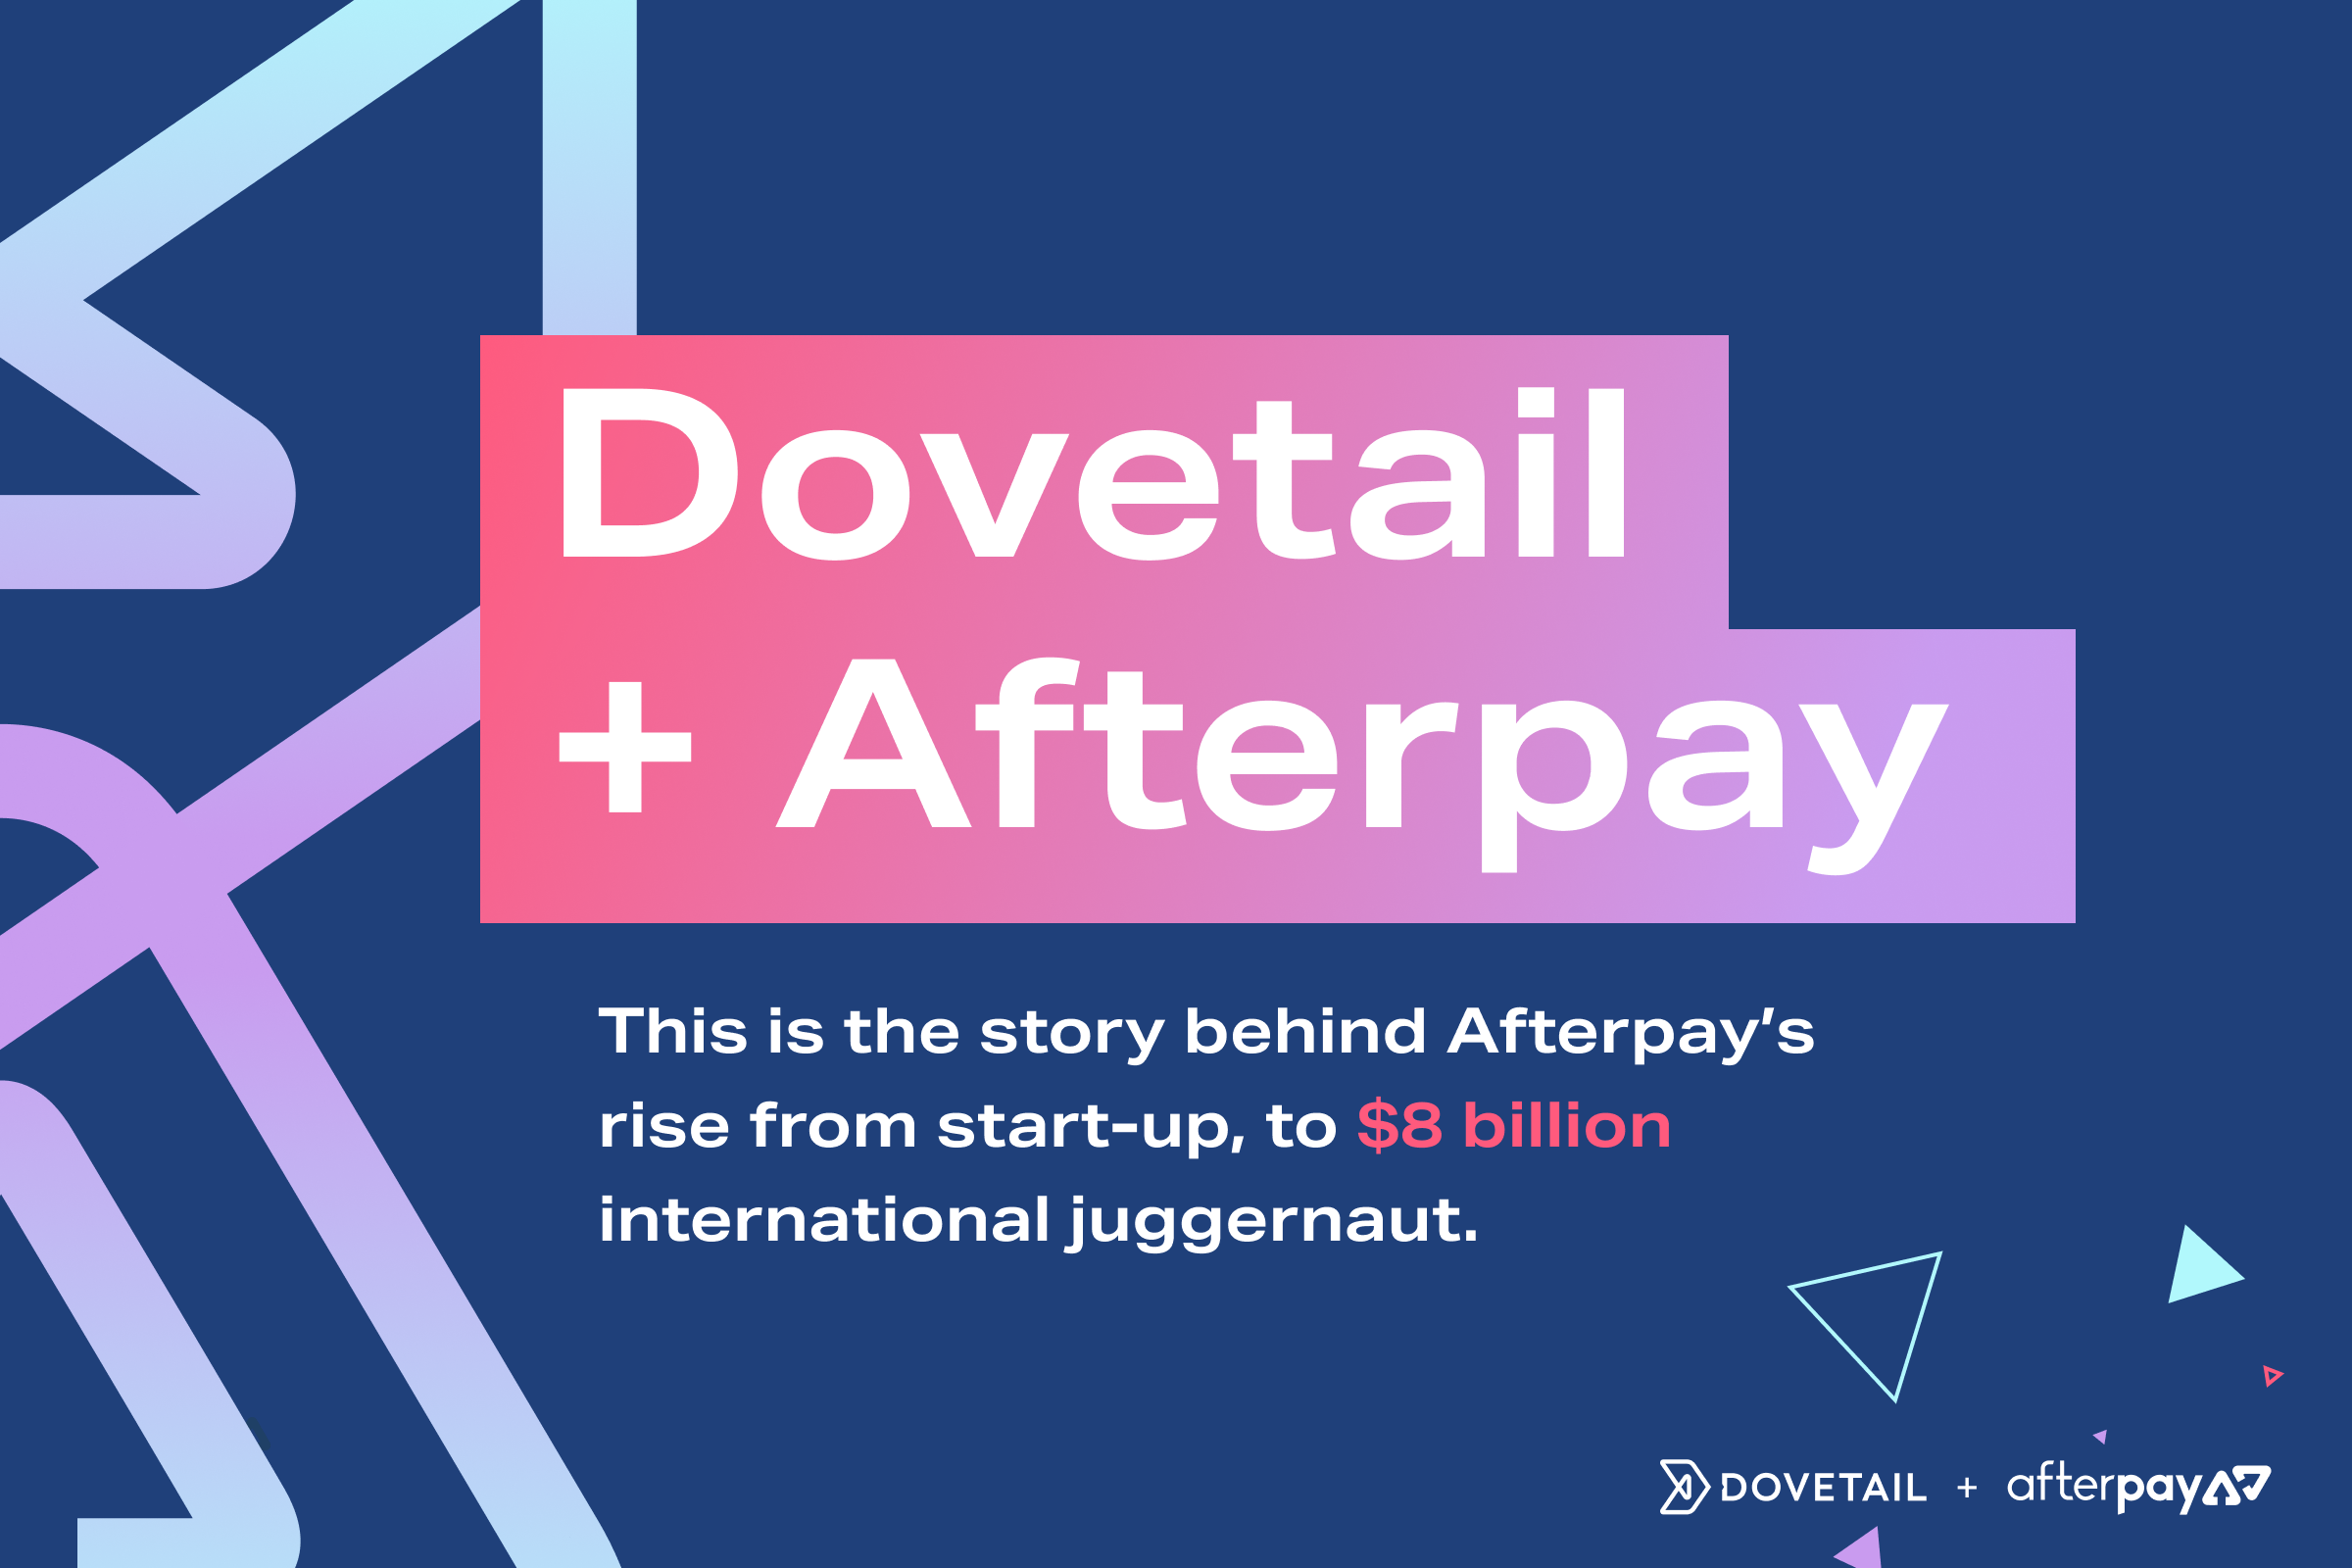
After many months of experimentation and hard work, we managed to create The Story of Dovetail and Afterpay, an animated journey about building the fastest-growing consumer tech platform in Australian history.
Here’s a guide we’ve put together to help other design teams who want to create an engaging business story of their own.
Step 1: Brainstorm the concept
Once you’ve decided to create an engaging business story, the first step is to have a few whiteboarding sessions brainstorming the concept to figure out what exactly it is that you’re going to produce.
At this stage you should already be thinking about what parts of the narrative you want to share and whether there are any numbers or stats that can really help elevate the impact level of the story. After you’ve finished writing down all your ideas, take the time to narrow these down to the best few. Now you’re going to put them into a concise design brief.
Step 2: Create a brief
A design brief is the source of truth that you can keep referring back to throughout this process to ensure you don’t lose sight of the bigger picture.
Although you might not have all the design decisions finalized yet, a good brief ensures that everyone on the team is on the same page. This is a good place to store all the inspiration you’ve found online that aligns with what you’re trying to achieve. You can treat this brief as a living document that gets updated as certain decisions get made down the line.
We decided very early on that we wanted to produce a single page animated website and documenting that decision helped guide all our future design decisions for the project.
Step 3: Start mood boarding
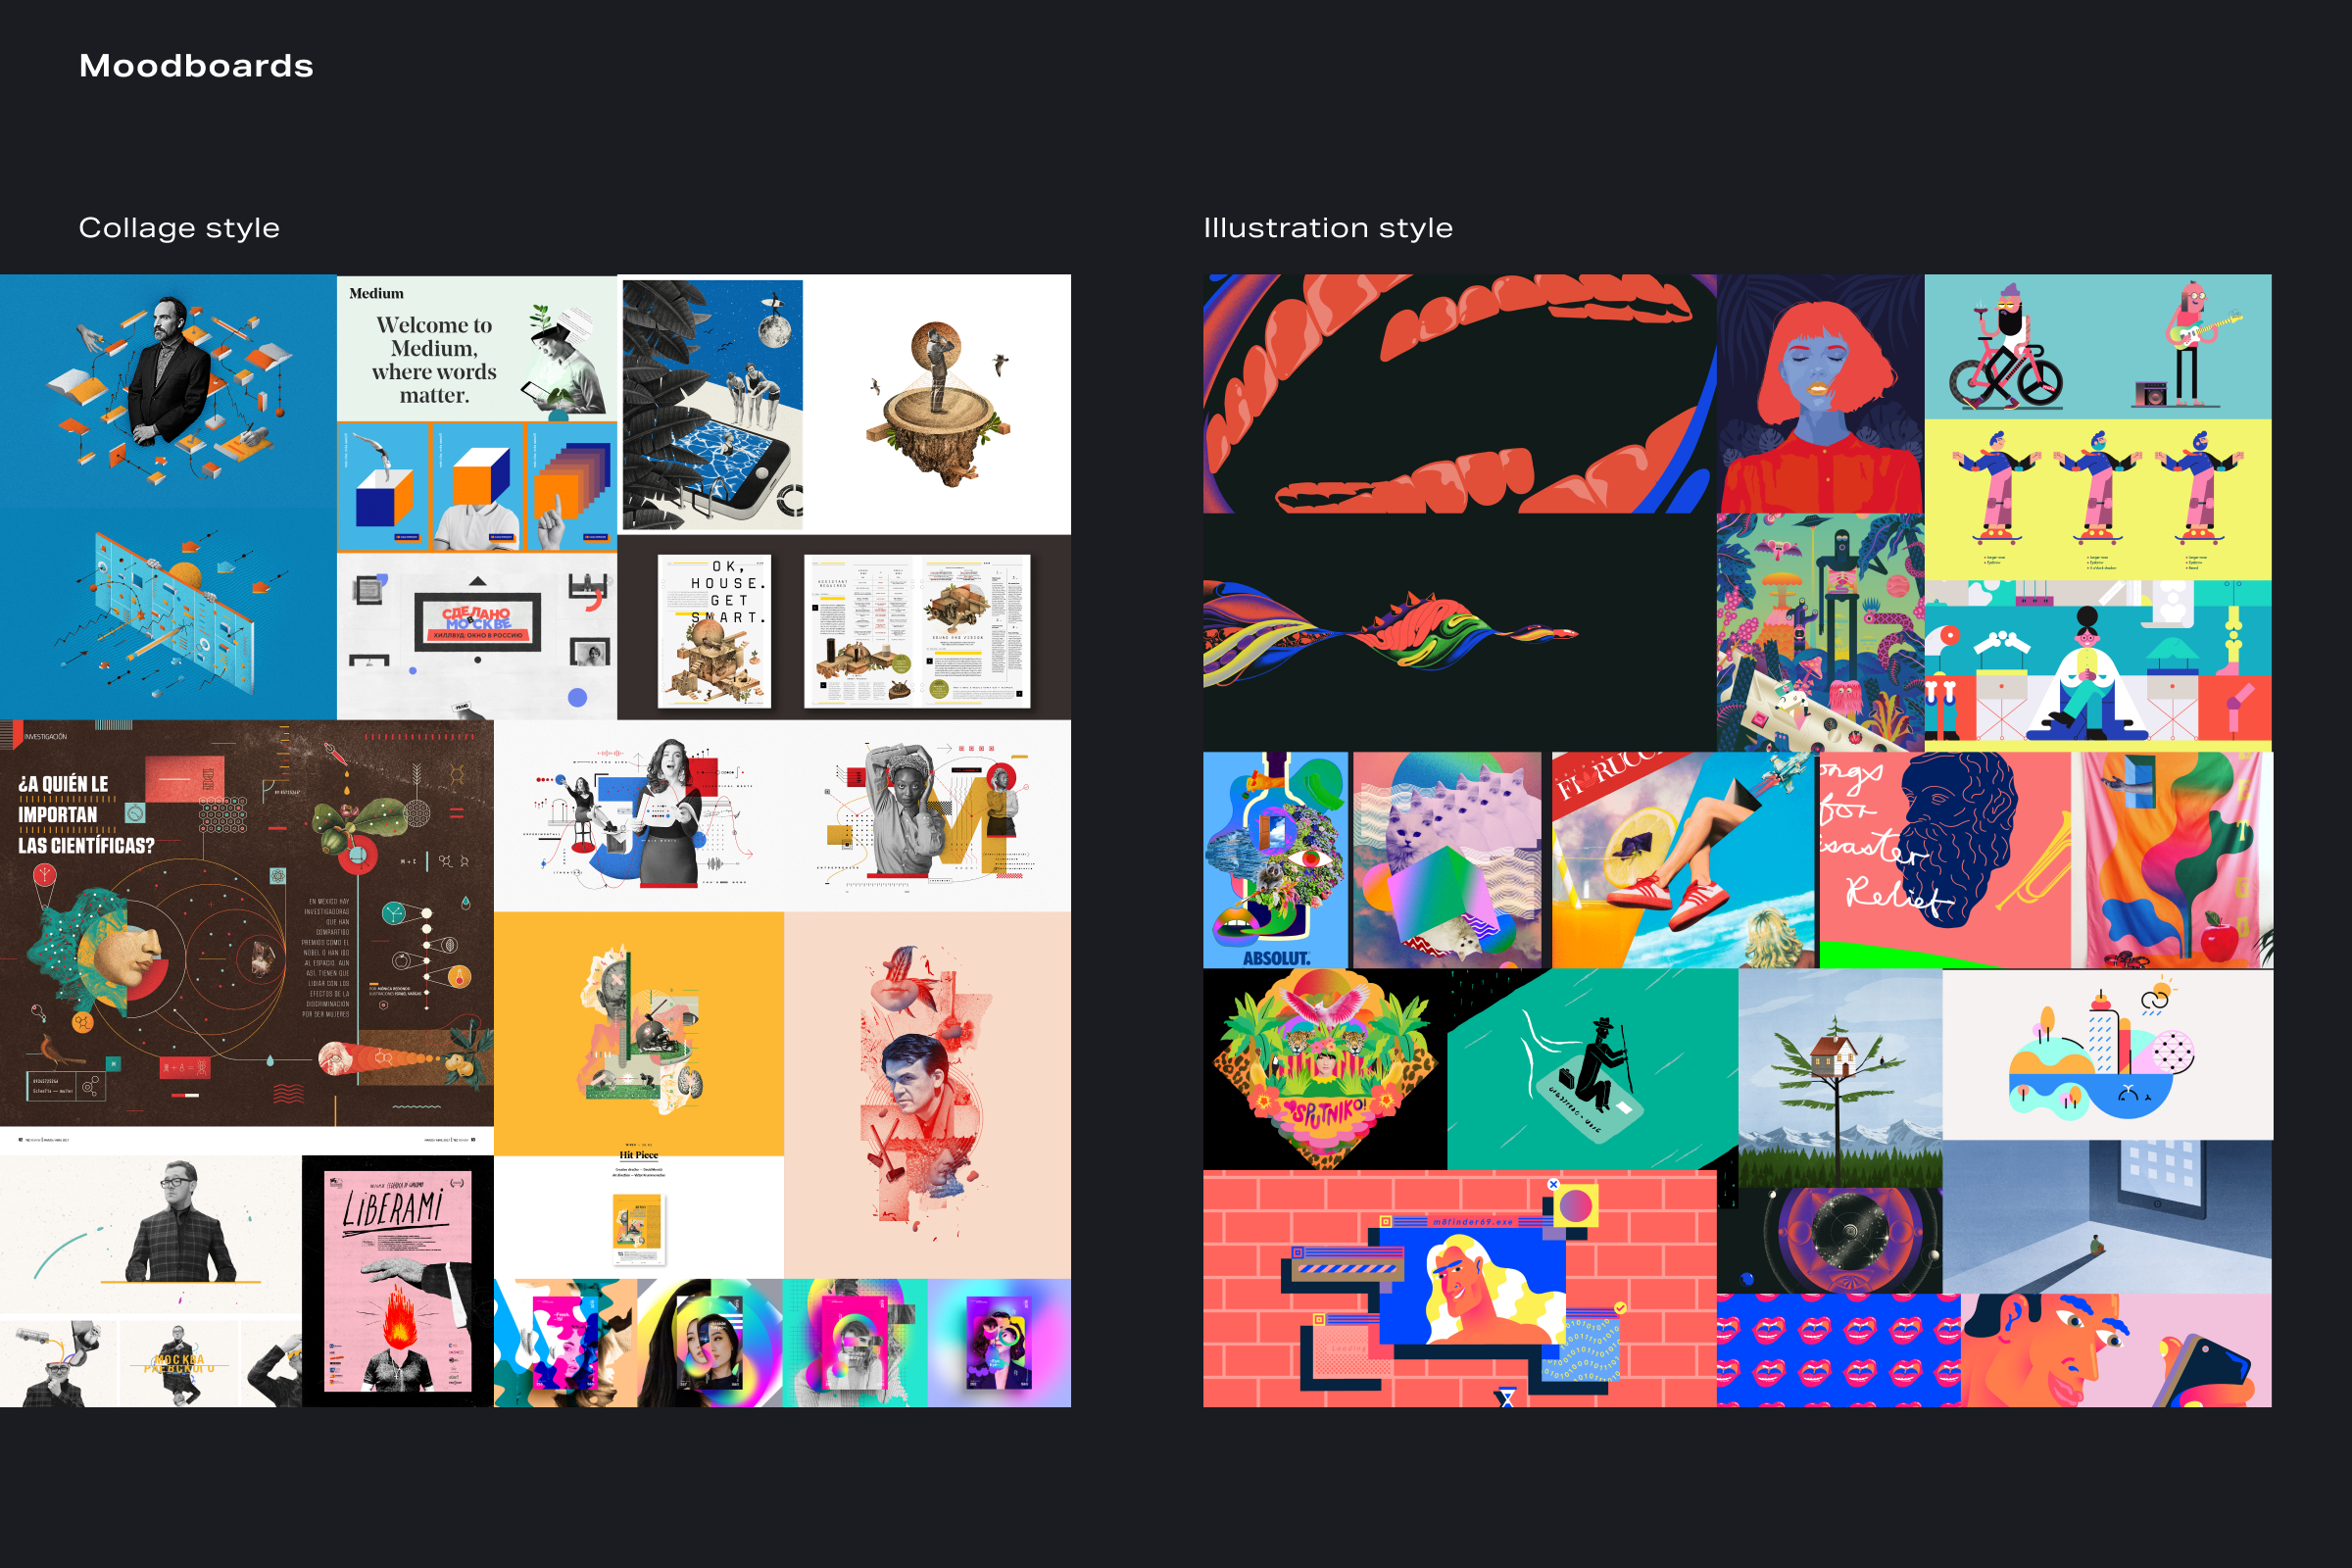
With a design brief in place, you can now begin generating a visual direction for the project. This is where we start mood boarding.
A mood board is a physical or digital collage that arranges images, materials, text, and other design elements into a format that’s representative of the design style you want to achieve. It allows you to visually communicate what sort of stylistic direction you want to take with your story and have a repository in place for all your inspiration so that your team can collaborate.
The beauty of mood boarding is that it still allows you to consider multiple design directions and figure out which one resonates most with the client (or in this case, your internal team).
When we started working on the Afterpay story, we didn’t know if we should do illustrations or whether our story would be a photo collage. So, our designers pursued both directions while we waited for the initial copy to be written.
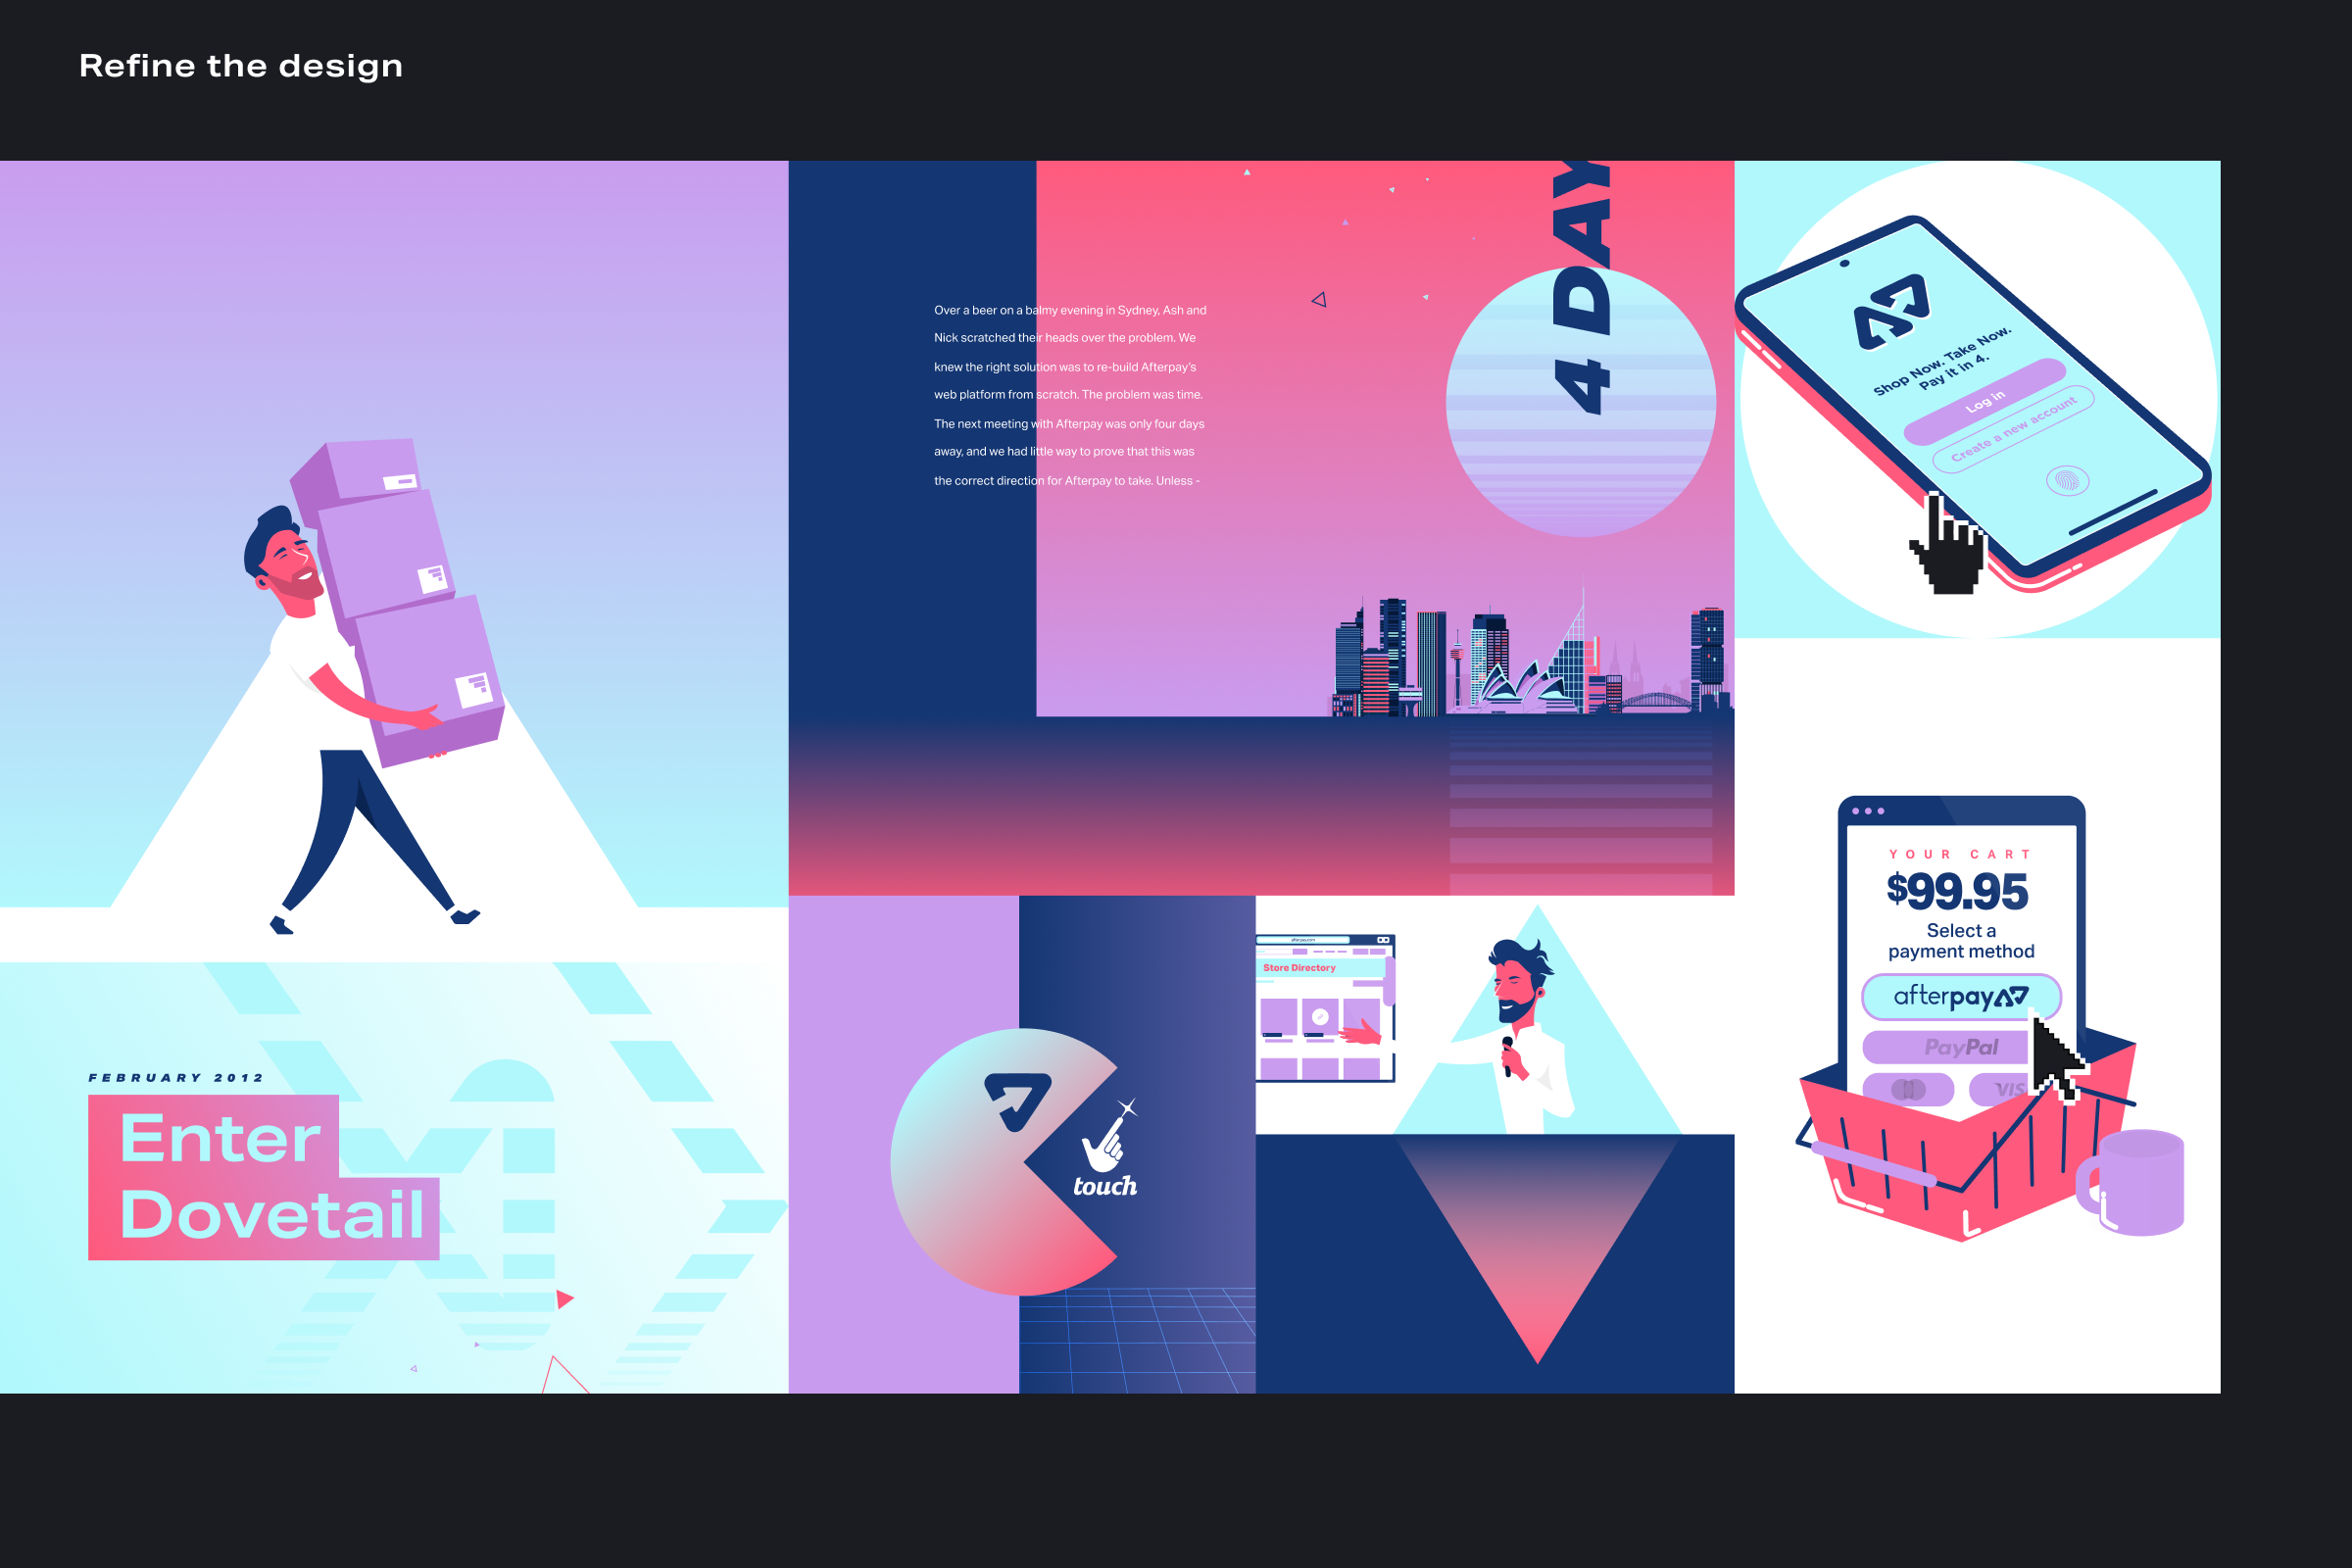
Step 4: Decide on a design direction
Before you start writing the content, you need to decide on a design direction. This is the point where you start converging all your mood boarding into a very specific theme, style, and color scheme.
It’s at this point that you should refer back to your design brief and clarify the theme(s) of your story if you haven’t already. Once you decide on a clear theme, the design direction can flow from there. For the Afterpay story, we were inspired by the company’s ability to disrupt the status quo, achieve an incredible amount of growth in a short period of time, and to position themselves as a new and trendy payment option. This gave us three distinct phrases to use as a theme for our story: disruption, growth, and “a mystery to older shoppers”.
Once you have a theme or set of themes it’s time to go back to your mood boards and decide which of the styles you’re considering best serves these themes.
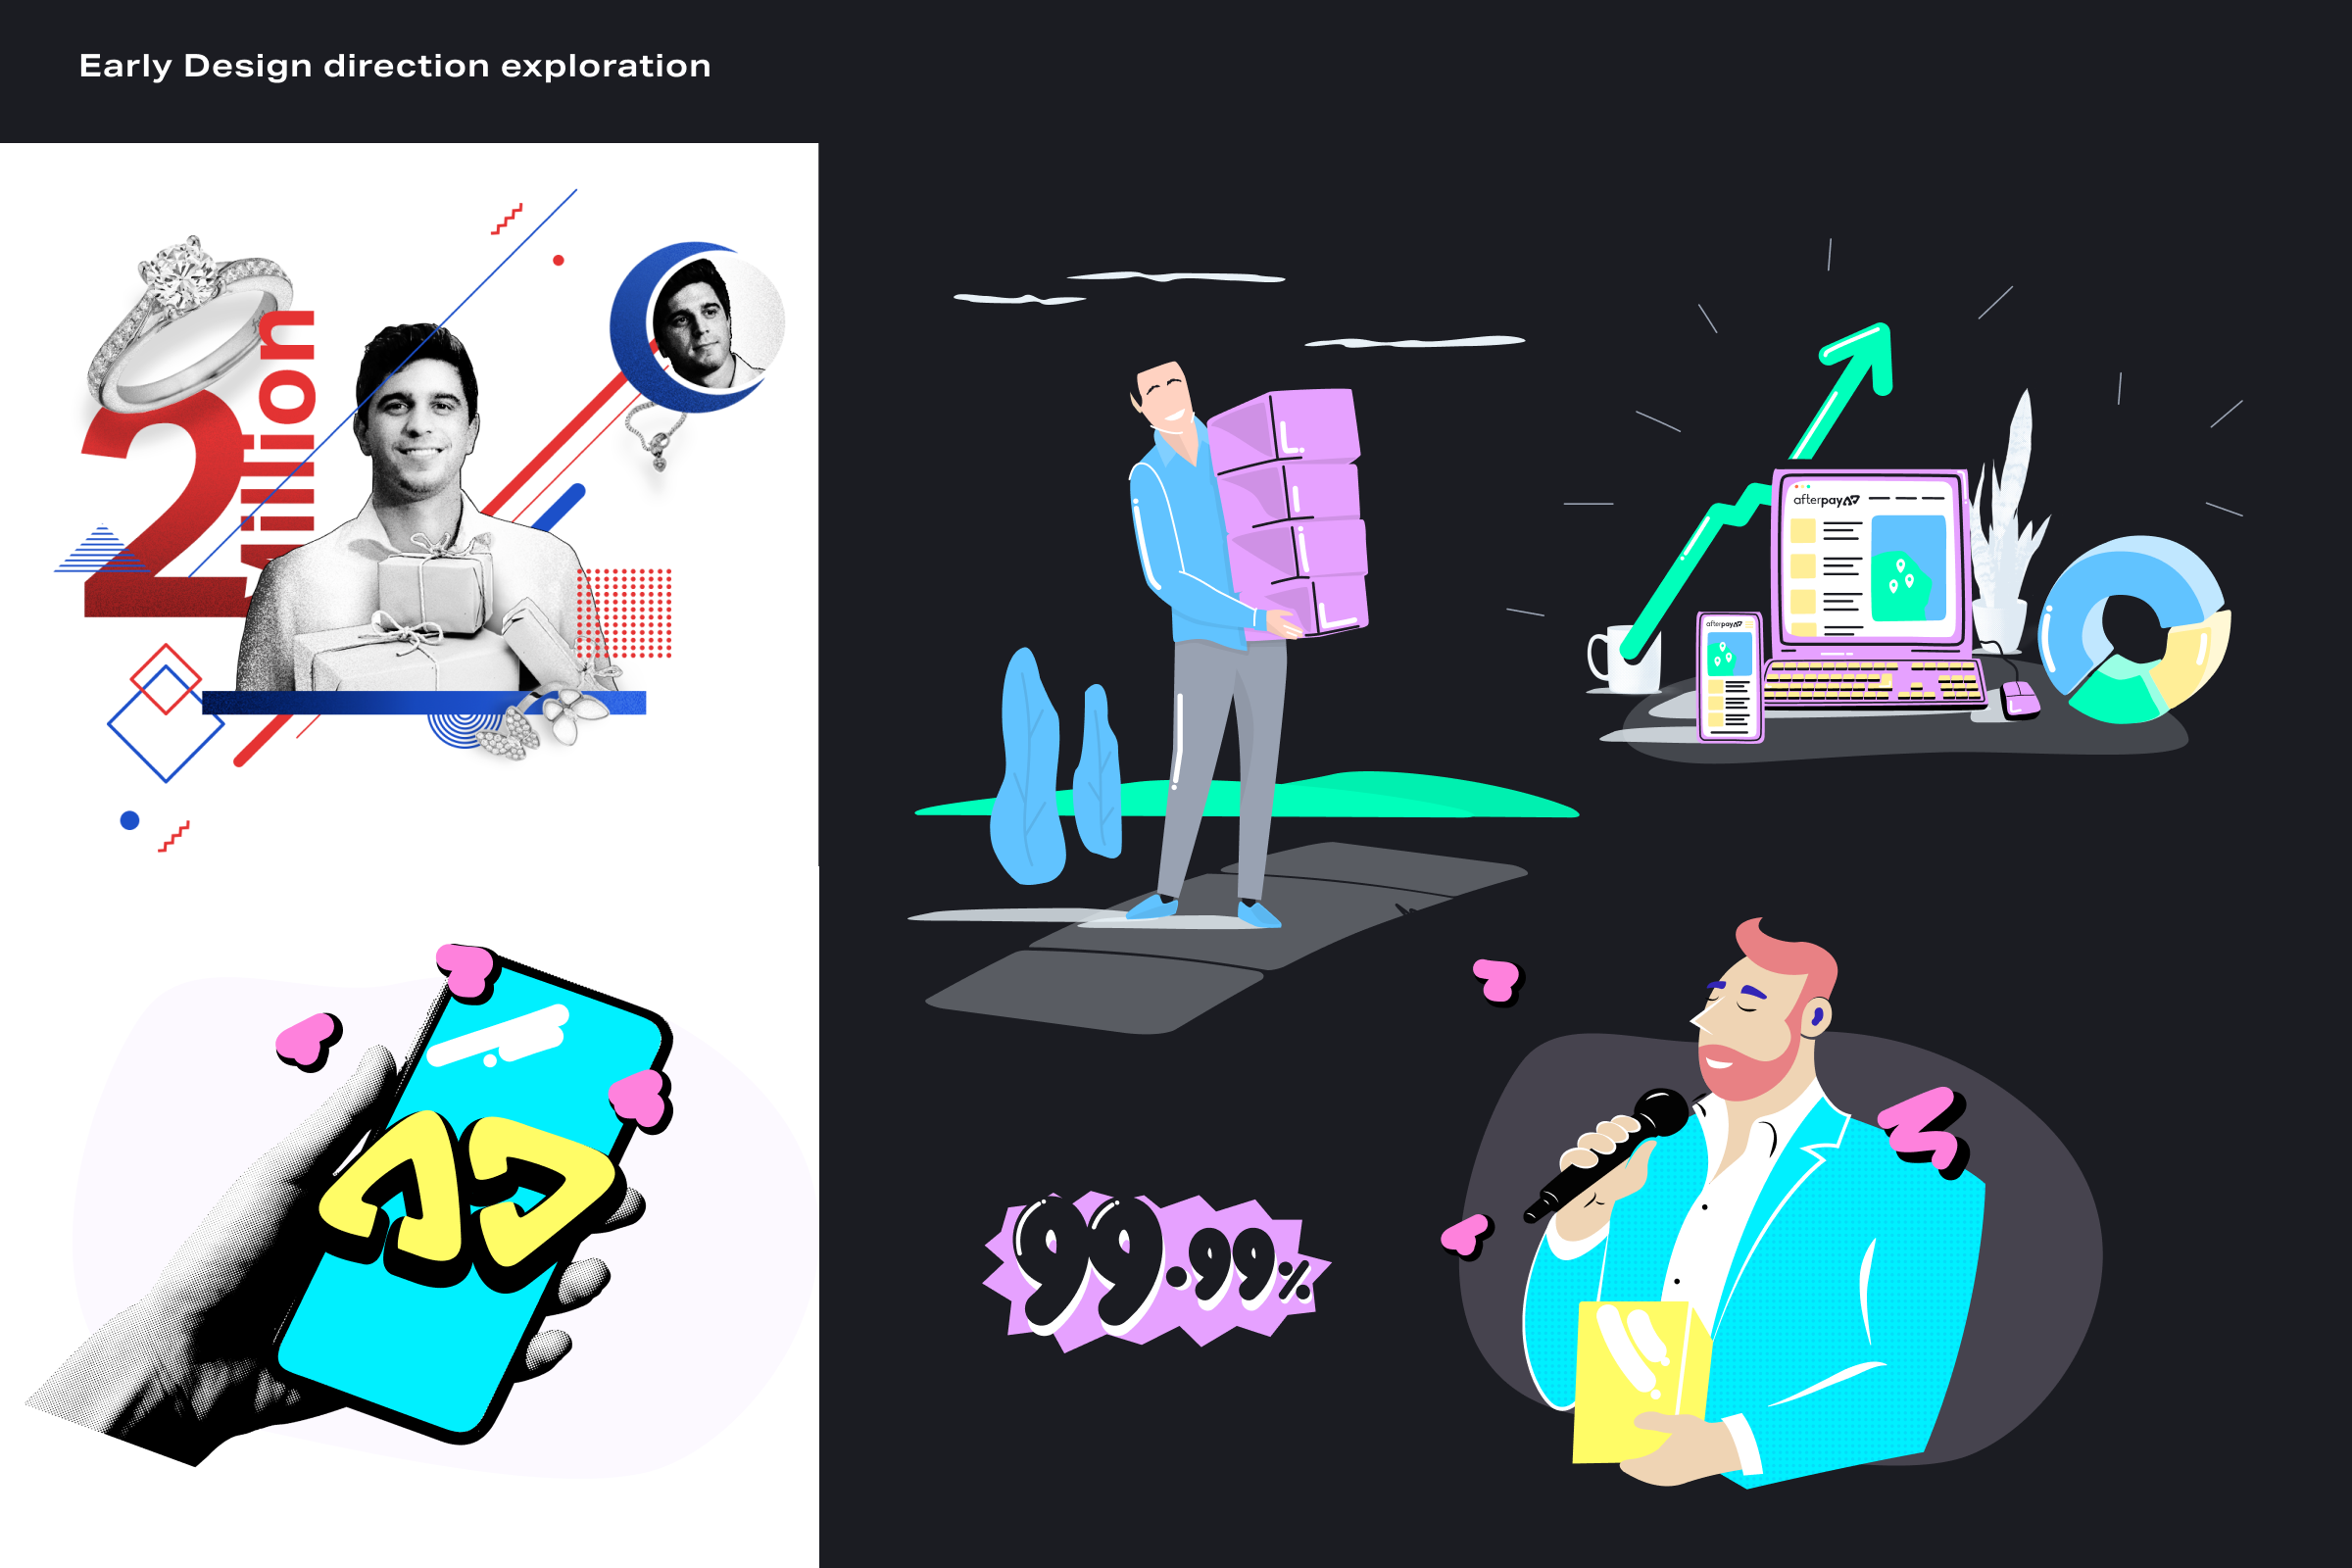
We started looking at different types of collage styles including brutalism, and related in-between approaches but we didn’t feel this would complement the themes we had picked as well as an illustrative style would. The flat vector style we chose is a head nod to the internet in the noughties when new design ‘trends’ would come along and disrupt traditional web styling.
With a style in place, you just have to narrow down one step further to decide on a color palette. Our inspiration for a color palette was the Vaporwave music movement of the early 2010s.
Step 5: Write the content
Once you have a design direction in place you can get other team members started on writing the copy that will make up the backbone of your visual narrative.
We wanted this piece to be an engaging story, not another boring agency case study. We took inspiration from incredible storytellers like Michael Lewis and Malcolm Gladwell to try and craft something that people would actually want to read all the way through. This meant pouring over investor filings to find interesting statistics, interviewing people who were involved with the Afterpay project from day one, and setting Google search filters to read news articles from the company’s early days.
Producing a visual business story also provides the additional constraint of having to create a design alongside the copy. This means you may want to write in smaller blocks of text to give viewers a chance to easily scan through to find interesting stats, quotes, and bullet points. This is also the main reason you should be happy to hand over content to design as soon as a first draft is ready. As a designer, you’ll have opinions on where the content needs to be trimmed to best support the visuals and this collaborative step starts once you begin taking apart the copy.

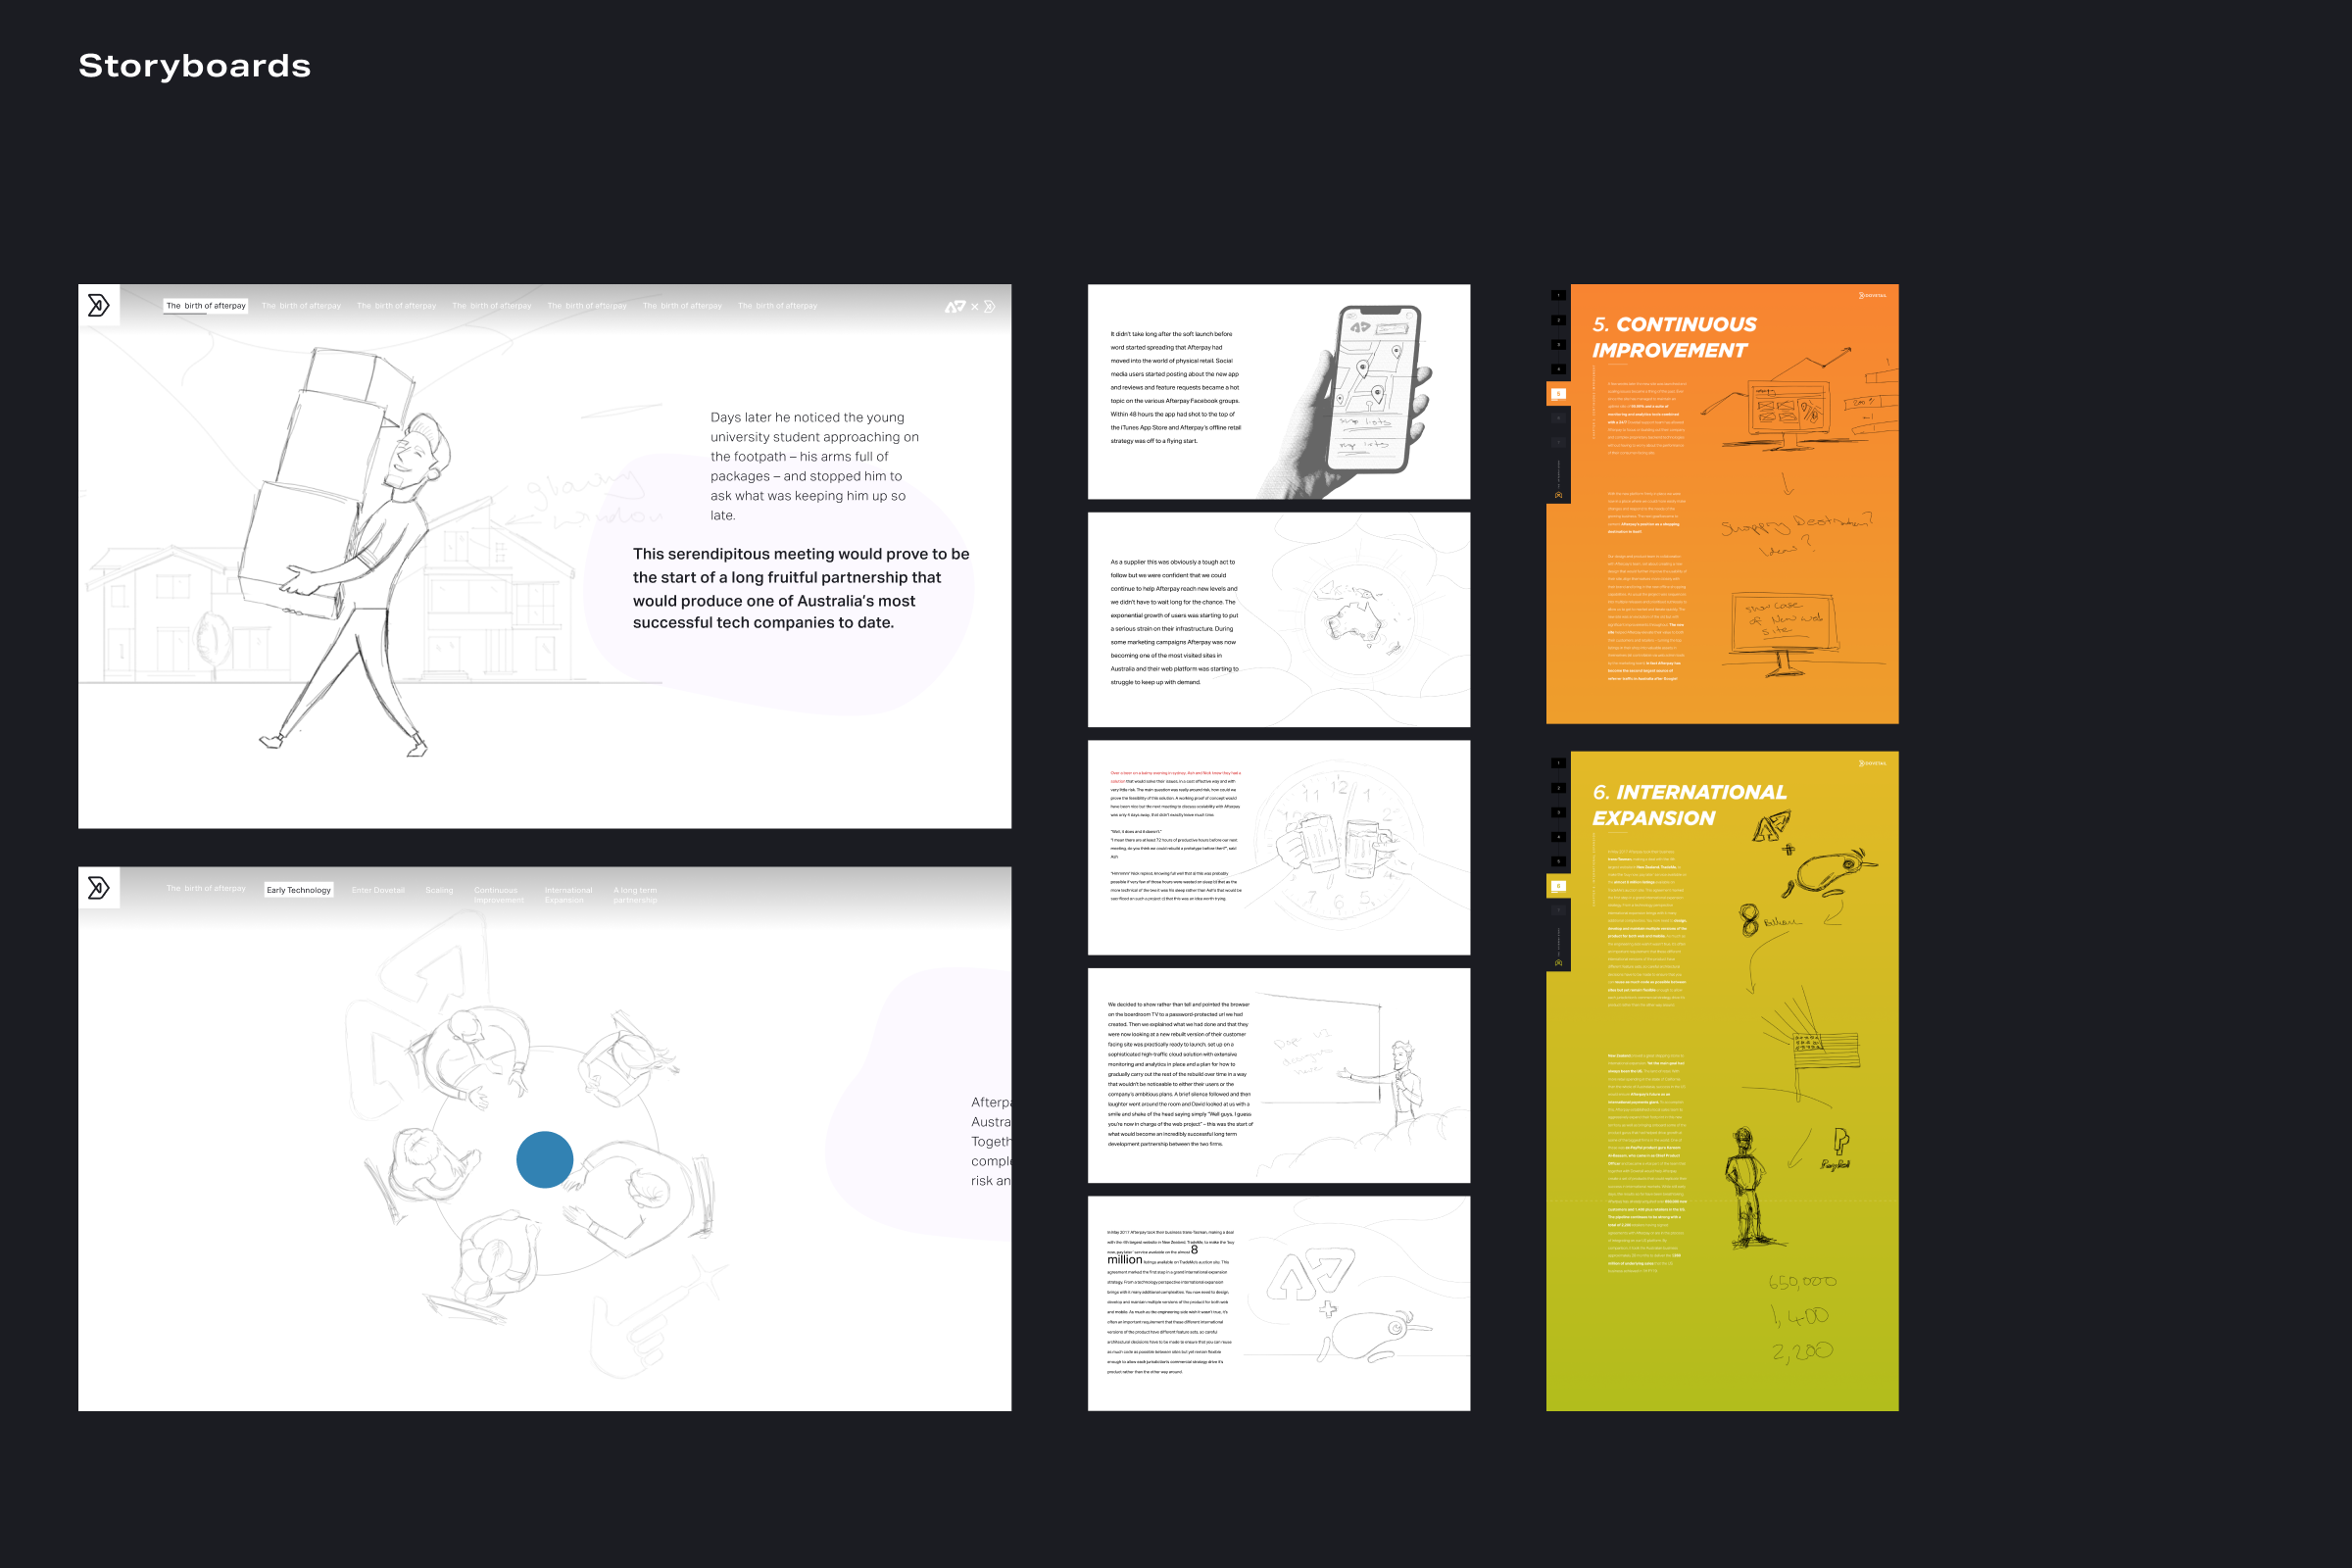
Step 6: Pull the content apart and create storyboards
Once the content gets handed over to design, it can feel pretty daunting to have a long story to work with. Our design director even said, “this felt like a pretty scary looking project when that copy first came in.”
In order to not get overwhelmed, it’s important to break the story apart into sections and take it one piece at a time. There’s effectively another brainstorming period as you take different parts of the copy and think about the visual elements that will complement that text. Do lots of sketching and eventually take your best ideas and make an initial storyboard. The storyboard needs to consider how much information can be digested alongside visuals in a standard laptop viewport.
This is still a good time to rejig some of the content if it doesn’t serve the design of the story. As a designer, you can trust your intuition here to suggest changes to the copywriting team and work together to finalize the copy. It’s much cheaper and easier to make changes before the development team gets involved.
Step 7: Begin designing
With a finalized design direction and storyboards it’s time to finally create the graphics for your story.
While animation isn’t essential to making a well-designed business story, it does make for a more engaging experience. You and your team need to make a cost-benefit analysis to decide if it’s worth the extra design and development time. About half of the entire project cost for the Afterpay story was the trial and error experimenting with different web-based animation solutions.
Just like we got design involved before the copy was finalised, we engaged our development team before the design was finished.
Step 8: Start working with the development team
For a project like this, you’ll want to get your development team involved early. There will be a lot of back and forth at this stage as your designs get turned into code.
Even if you’ve designed a working prototype, it’s important to sit down with the development team and walk them through exactly how you expect the transitions and animations to behave. Be prepared to find sites that have interactions and animations similar to what you want so you can send them over to your developers for inspiration.
Once your designs are finalized and your developers have a direction to follow, it’s still important to keep an eye on their progress as it’s likely you’ll have to make refinements (and also spot bugs!)
When we started developing the Afterpay story we wanted to do SVG / CSS animation as much as we could, and where we couldn’t we brought in sprite sheets. Then there was a bunch of experimentation with sprites, keyframes, and illustrations in order to make the animations work with a responsive web page.
Step 9: Launch and celebrate
Congratulations! If you’ve made it this far you’ve got a kick-ass interactive story that you’re ready to show off to the world. Queue up the social media posts and get everyone on your team to share with their network.
Now sit back, relax, and pop open the champagne. 🎉
 About the author: Fab Mackojc is the Regional Lead at Dovetail, a product development agency that has a proven track record for building commercially successful digital products that millions of people love to use. Having previously built software for companies such as Groupon, PwC, and Afterpay, Fab now helps companies of all sizes bring innovative digital products to life.
RELATED READING
- A guide to design‑led content marketing (& why your brand needs it)
- 3 design storytelling tips to help you nail your UX interview
- Making friends with marketing: A practical guide for designers
Find more Process stories on our blog Courtside. Have a suggestion? Contact stories@dribbble.com.


