What are motion prototypes, how do they help improve the design process, and what are the best prototyping tools to use? Ayana Campbell Smith, Creative Director at Envy Labs digs into everything you need to know about using animated prototypes in your design process and how to get started—even if you’re a beginner.
Web animation was completely out of my wheelhouse. “The designs are all done and the style guide has been handed off. Surely the developers can handle animation.” I thought while dusting off my hands. The world of animation was uncharted territory for me, so leaving it up to front-end developers to shoulder that responsibility was an easy choice. It wasn’t until my first motion prototyping experiments with Framer in 2014 that my love affair with web animation began. Since then, I’ve come to appreciate how motion prototypes bridge the gap between design and development and bring clarity to the gray area where the two disciplines converge.
So what are motion prototypes? Think of them in the same way a design system is handed off from designer to developer to kick-off the build process. Instead of detailing color and typography standards, these prototypes visually convey the overarching motion patterns that define the experience and inform future additions. When implemented as part of the design process, designers are empowered to make decisions about interactivity and test drive them before hours of dev time are committed.

The Benefits
Before we talk about the how, let’s first dive into the why.
Early buy-in
Showing clients (and the developers on your team) a prototype in motion conveys ideas that would otherwise be difficult to see, especially with static compositions. It is not uncommon for non-designers to have difficulty picturing motion based solely on the description. Animated prototypes help fill in the blanks.

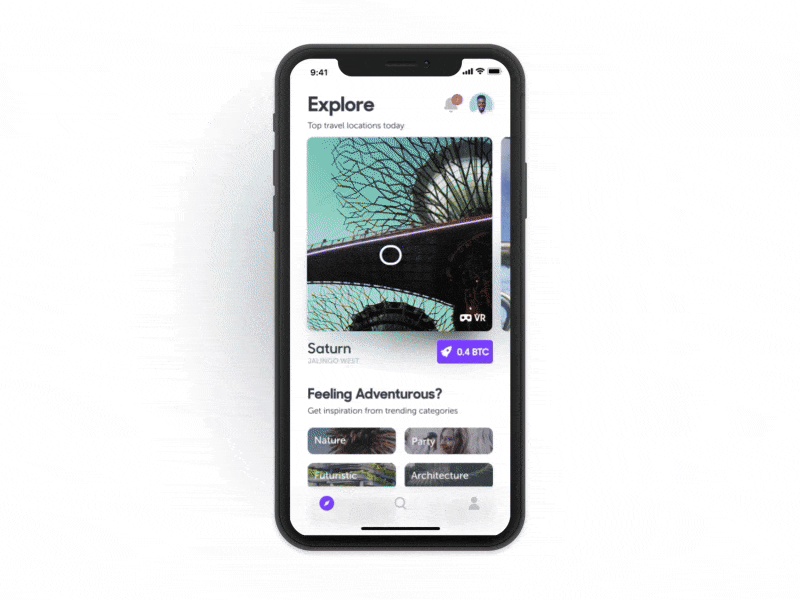
On the flip side, animated prototypes help developers make informed decisions about how interfaces should be built and the potential challenges they might face during the process. For example, the prototype below for an internal project at Envy Labs outlines the interface’s core transition patterns. Though it may seem simple enough, this prototype called attention to the potential difficulties of transitioning an image from a 1:1 aspect ratio to a 3:4. By catching this early on, developers were able to get a head start on figuring out a solution that would be performant while also maintaining the integrity of the original design.

Better Control Over the Final Product
“Motion, by its nature, has the highest level of prominence in a user interface. Neither text paragraphs nor static images can compete with motion.” -UX Planet
Interface designers should treat animation with the same decisive care they use throughout a project — lest it falls to the wayside as deadlines loom or are defined by someone lacking the big picture. Style guides are one (static) piece of the design handoff puzzle; animated prototypes should be seen as an important companion that offers another level of dimension and clarity.
Improved Communication of Ideas
Mocking up animations may seem like a time-consuming task (it is) when one could simply communicate their ideas verbally or via Slack. This may sound fine and dandy, but let’s take a look at how these scenarios typically play out:

Written or spoken explanation: 👎
Communicating complex animations via the written word can be a losing battle. In the example above, @designerayana is attempting to convey her animation ideas to @developercharles on Slack to no avail. Just imagine how frustrating this situation could be! Developers already have enough on their plates when working to build out designs — forcing them to decipher your animation vision via a series of Slack messages, over email, or even by word of mouth introduces unnecessary stress.

Animating it yourself: 👍
What if instead, when we replay this scenario @designerayana has already taken the time to mock up her animation ideas and can quickly send them to @developercharles when he asks? In this situation, any potential confusion has been eliminated. Questions related to styling, timing, and easing are easily answered and the project can progress without major roadblocks.
Knowing which tools to use
There’s a wide spectrum of tools available for prototyping animations. Each possesses a unique set of strengths and weaknesses. Knowing where these tools excel will help you in deciding which will work best for your specific needs. Here’s a breakdown of a few of my favorites:
after effects:
After Effects has been in the animation game for ages and is still invaluable for adding motion to illustrated assets. It can flex to fill a need for UI demonstration, but it’s a bit like using a hammer to place a screw. Compared to other more UI-focused programs, AE is much less intuitive. However, strides have been made to ease the potential sting. A number of designers sing the praises of the Sketch2AE plugin, which allows for the quick and easy import of Sketch assets.
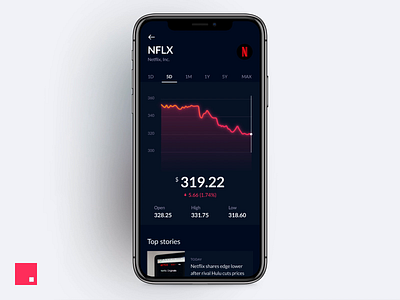
Although a lot can be done, it is important to loop in developers often when using such a robust program to ensure that what you’re creating is feasible for the web. Animation is cool and all, but performant experiences are even cooler. The impressive prototype by Joshua Oluwagbemiga (below) is just one example of what can be made when Sketch, After Effects, and the Sketch2AE plugin come together.
Pros of After Effects:
- Robust interface offering great flexibility
- Prototypes can be as simple or as complex as your skillset allows
- Assets can be created directly in AE or imported
PSST! If this all sounds great but you’re concerned about the learning curve, don’t worry! Impressive animations can be made only using very basic transforms. Start with the fundamentals and build from there. There are countless AE tutorials available on YouTube ranging from basic to super advanced. My personal favorites include those from ECAbrams and Mt Mograph .
Principle
Principle is an excellent option for UI-centric animations. Similar to After Effects, it can be used to mock up motion ranging from simple hover states all the way up to complex, multi-step flows. However, the built-in Sketch import capabilities means start times tend to be on the shorter side in comparison. With the added benefit of creating truly interactive prototypes that can be tapped, swiped, scrolled, and dragged, the results are perfect for hands-on device testing. The video above shows just how quickly animations can be created.
Given its numerous benefits, the app is well worth the $129 price tag. Visit their site to download a free 14-day trial, then check out Pablo Stanley’s awesome Principle Crash Course on YouTube to get building in no time.
Pros of Principle:
- Easily imports Sketch files
- Both GIFs and MOVs of your animations can be easily exported for quick sharing

Invision Studio
InVision’s commitment to the design community shines through with the release of it’s most ambitious endeavor yet, InVision Studio . Despite its newcomer status, Studio is poised to disrupt the design tools industry in a big way. Most impressive is its current low price point of $FREE.99 making it accessible to a wide variety of users on Mac OS devices. Although similar to Principle in its implementation, the app is set apart by a heartier design interface — giving users more freedom to craft beautiful interfaces without having to jump through a bunch of hurdles. Overall, the interface offers a familiar experience that falls in line with many of the design tools on the market today.
Pros of Invision Studio:
- FREE! (for the foreseeable future at least)
Framer
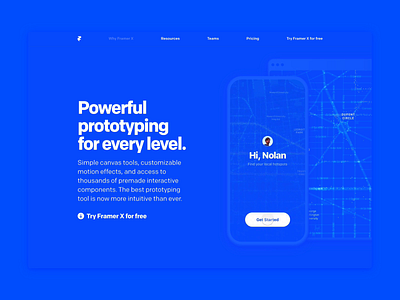
Since its inception, Framer has always been more code-focused: it requires users to know or learn CoffeeScript in order to create prototypes. Thinking back to my first use, I remember the slow ramp-up time made picking it a hard sell. The endless cycle of watching tutorials and reading documentation only to quickly forget everything I’d learned the next time I wanted to create a prototype was discouraging. Plus, the inability to design directly in the app meant assets had to be imported and reassembled manually. Yet, for what the app lacked in ease of use back then, it made up for with its ability to produce really great, high-fidelity prototypes. Now, several years and updates later, the fine control that comes with code implementation has been bolstered by an integrated design interface, allowing for a seamless transition between designing and prototyping. Despite its steep learning curve, it remains an excellent option for both code-curious designers and more seasoned coders alike.
Framer is available for as low as $12/month. Download their free trial then pop over to YouTube for yet another crash course from the talented Pablo Stanley: Framer Crash Course .
Pros of Framer:
- Able to make really impressive, high-fidelity prototypes with real data
- Allows designers to meet developers halfway by presenting animation in a language they understand
If the number of tools on the market today is any indication, it’s safe to say animated prototypes are here to stay, continuing to bridge the gap between design and development. When deciding which is best suited for your needs, remember: the tool used is much less important than ensuring animation ideas are able to be communicated effectively.

Want to keep up with Ayana? Find her on Dribbble, Twitter, and at ayanacampbell.com.
Find more Community stories on our blog Courtside. Have a suggestion? Contact stories@dribbble.com.


